Pages can be edited, but should not be created without vendor consultation (in the case of menu considerations etc).
Content Editing
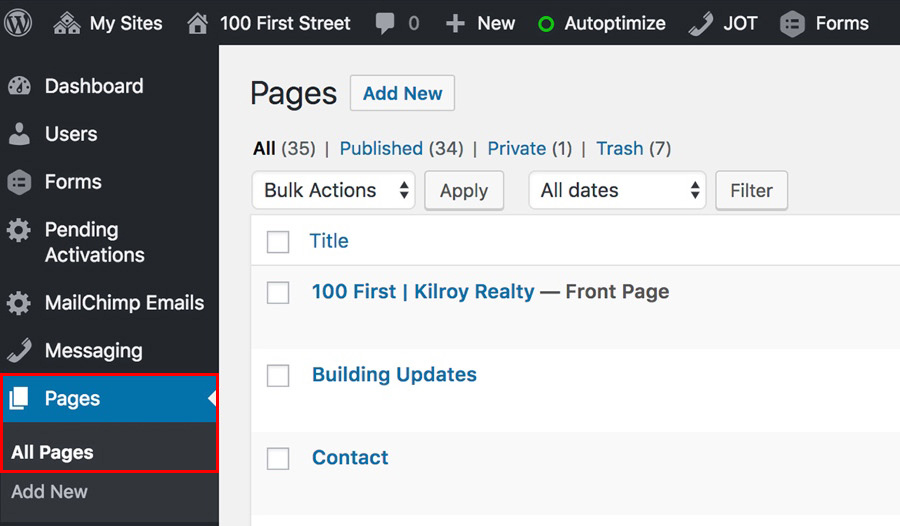
To begin editing a page, click on the Pages link in the sidebar. This will bring up the All Pages screen. This list is an index of all the pages on the site. There will be a one to one correlation between this list and the pages on the site. Select the page you would like to edit/update.
Visual Composer
Content management for Pages is done in the Visual Composer. The Visual Composer contains all the sections visible on the page. This is where you edit, add or delete text and imagery on the page. The way the content is arranged on this Page is how it will appear on the web, i.e. text on the left side of this section will appear on the left side of the screen on the website.
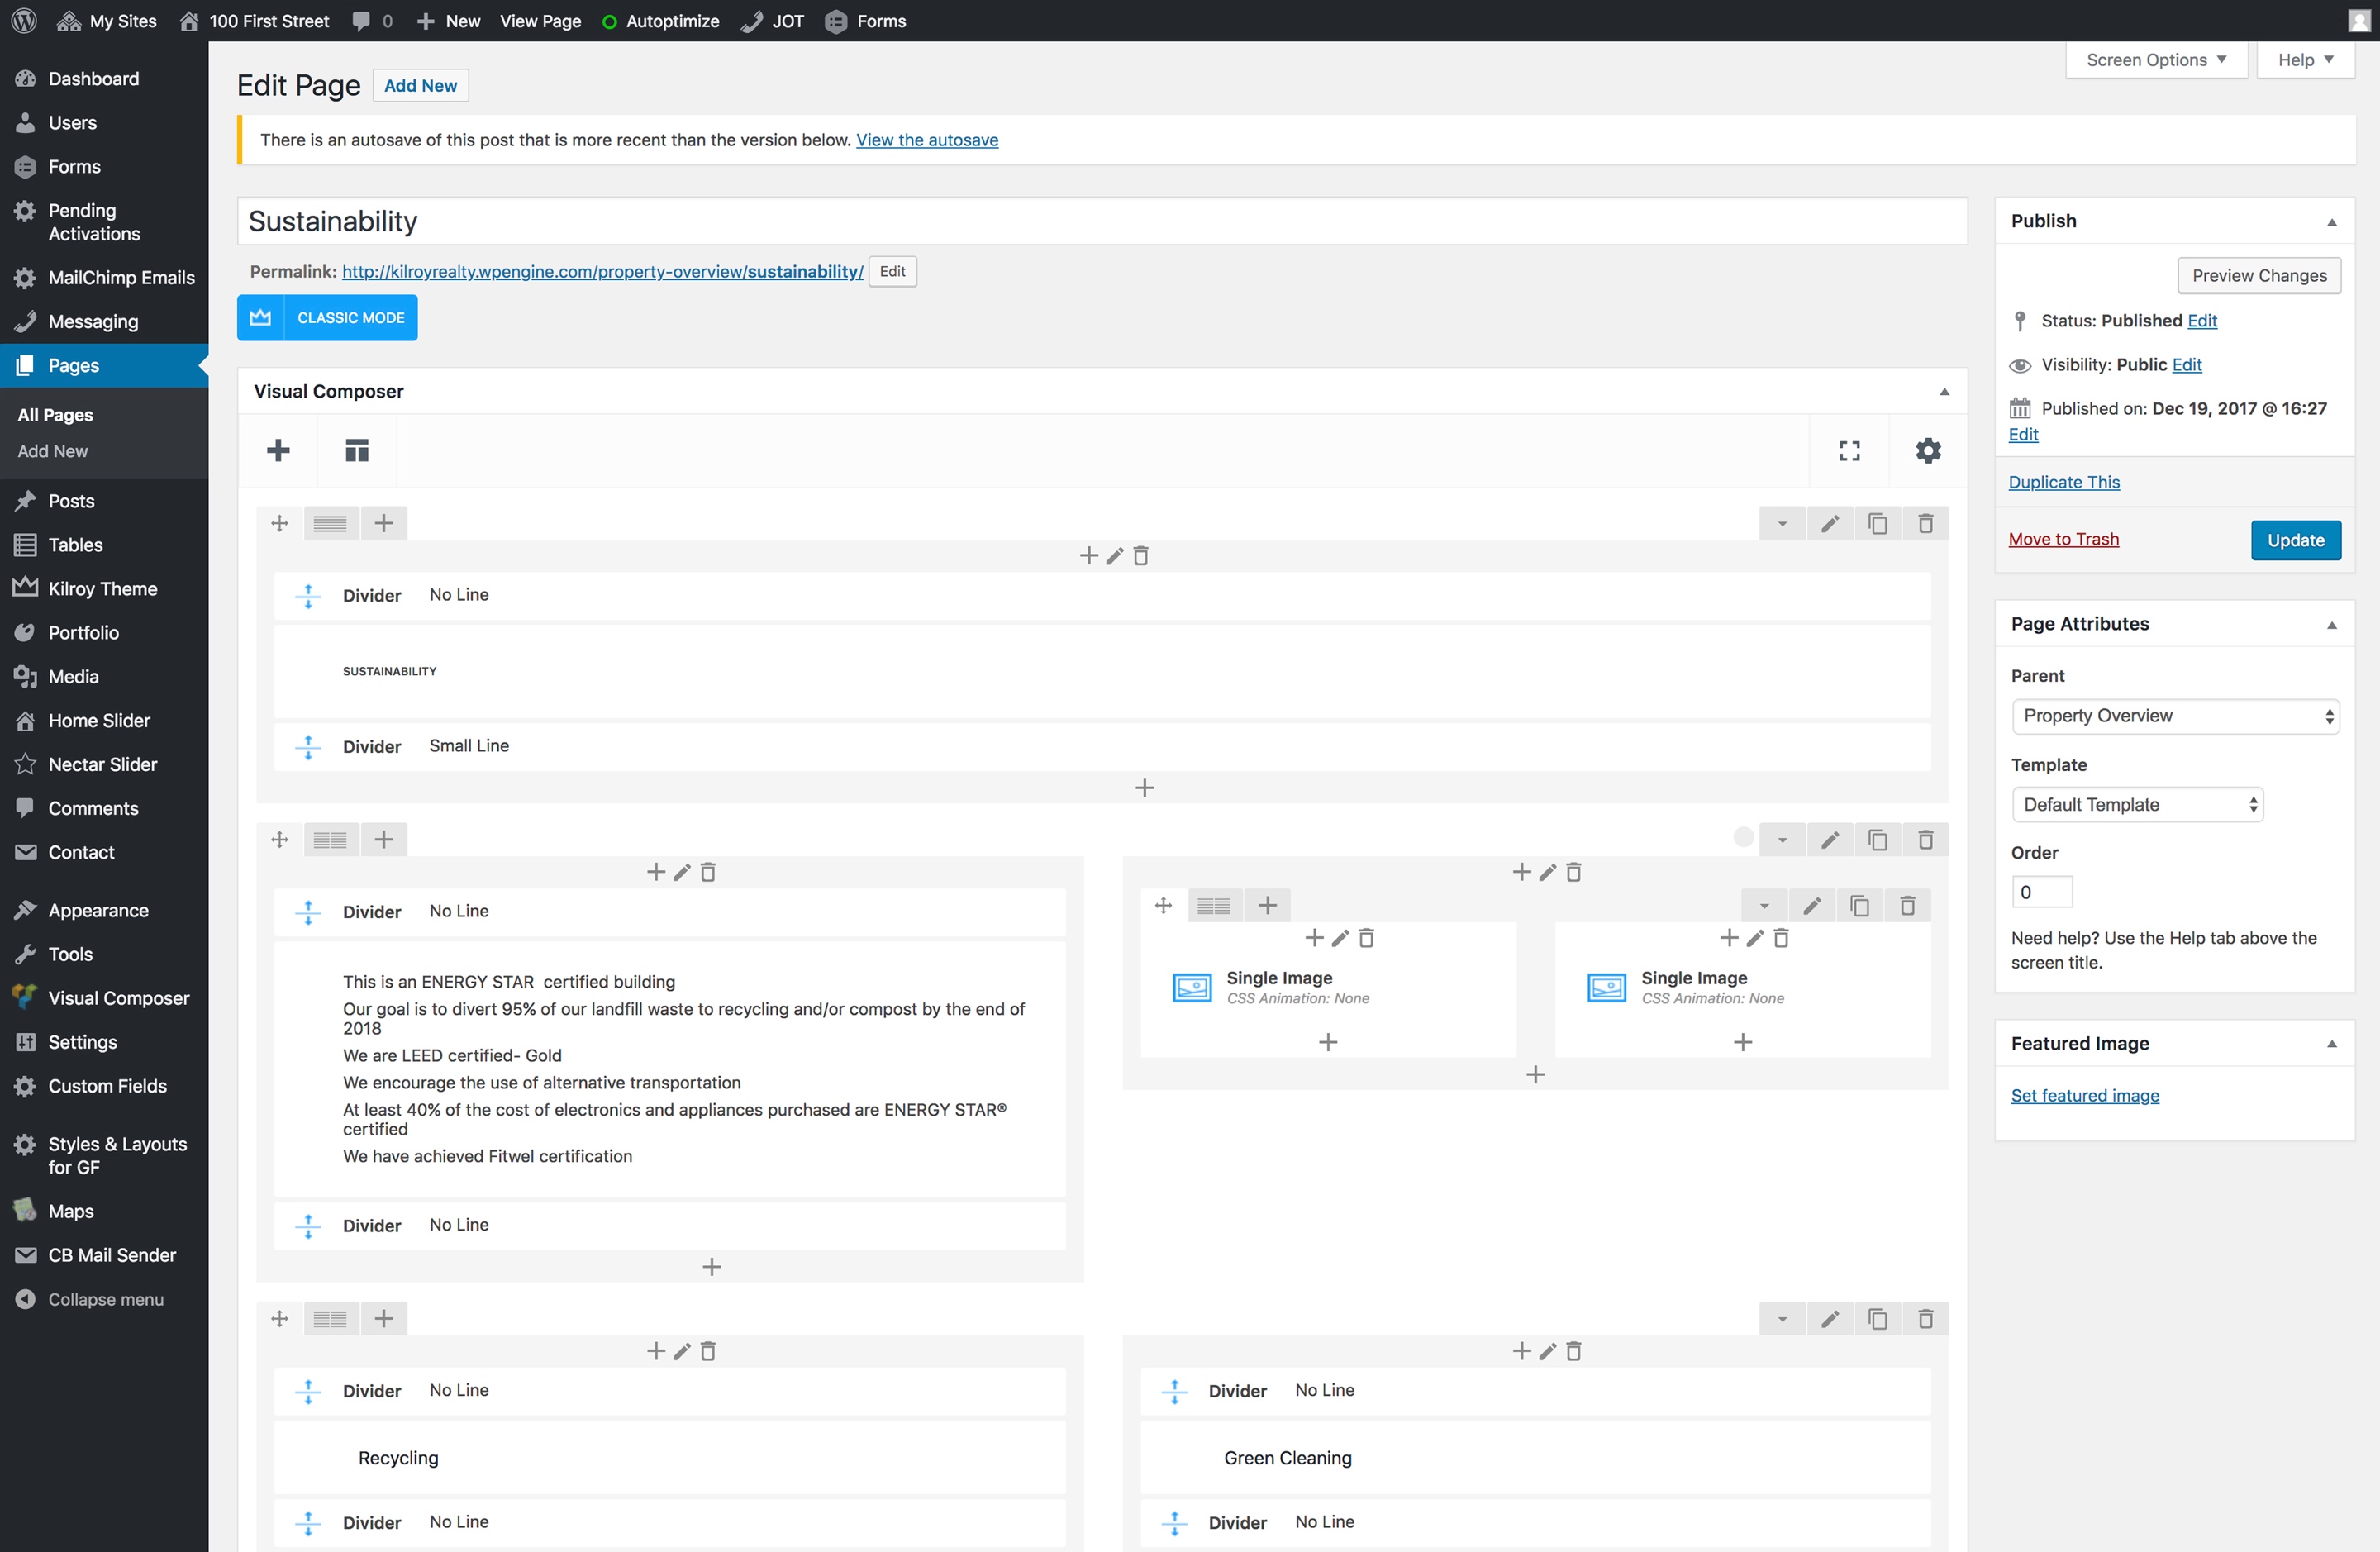
row control tools – affects the structure of the page.
column control tools – affects the structure of the page.
text block – hover over the block and click the green pencil to edit
image block – hover over the block and click the green pencil to edit
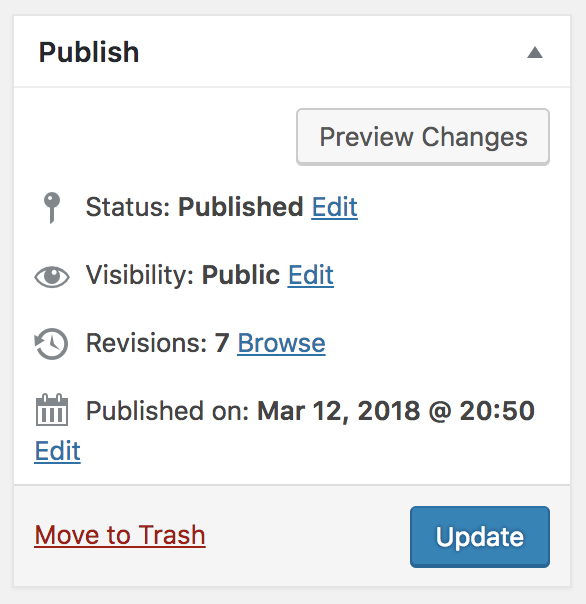
page preview allows you to see changes before you commit to them (this will open a preview in a new window/tab)
the update button is used to commit changes to the live site. once you click on the update button, your changes will appear on the site.
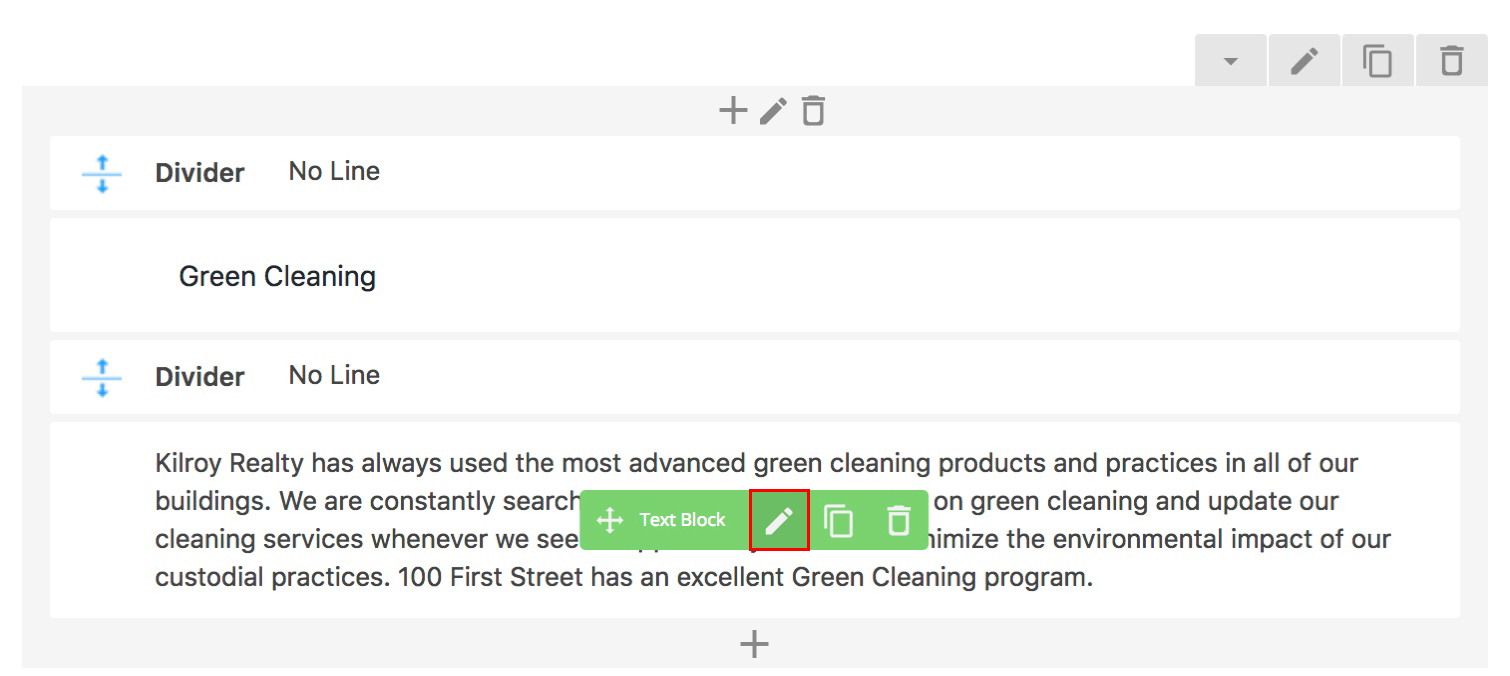
Editing Text
To edit or delete text, simply hover over a Text Block section on the page you wish to edit. This will bring up the Text Block menu. Click on the pencil to edit the text.
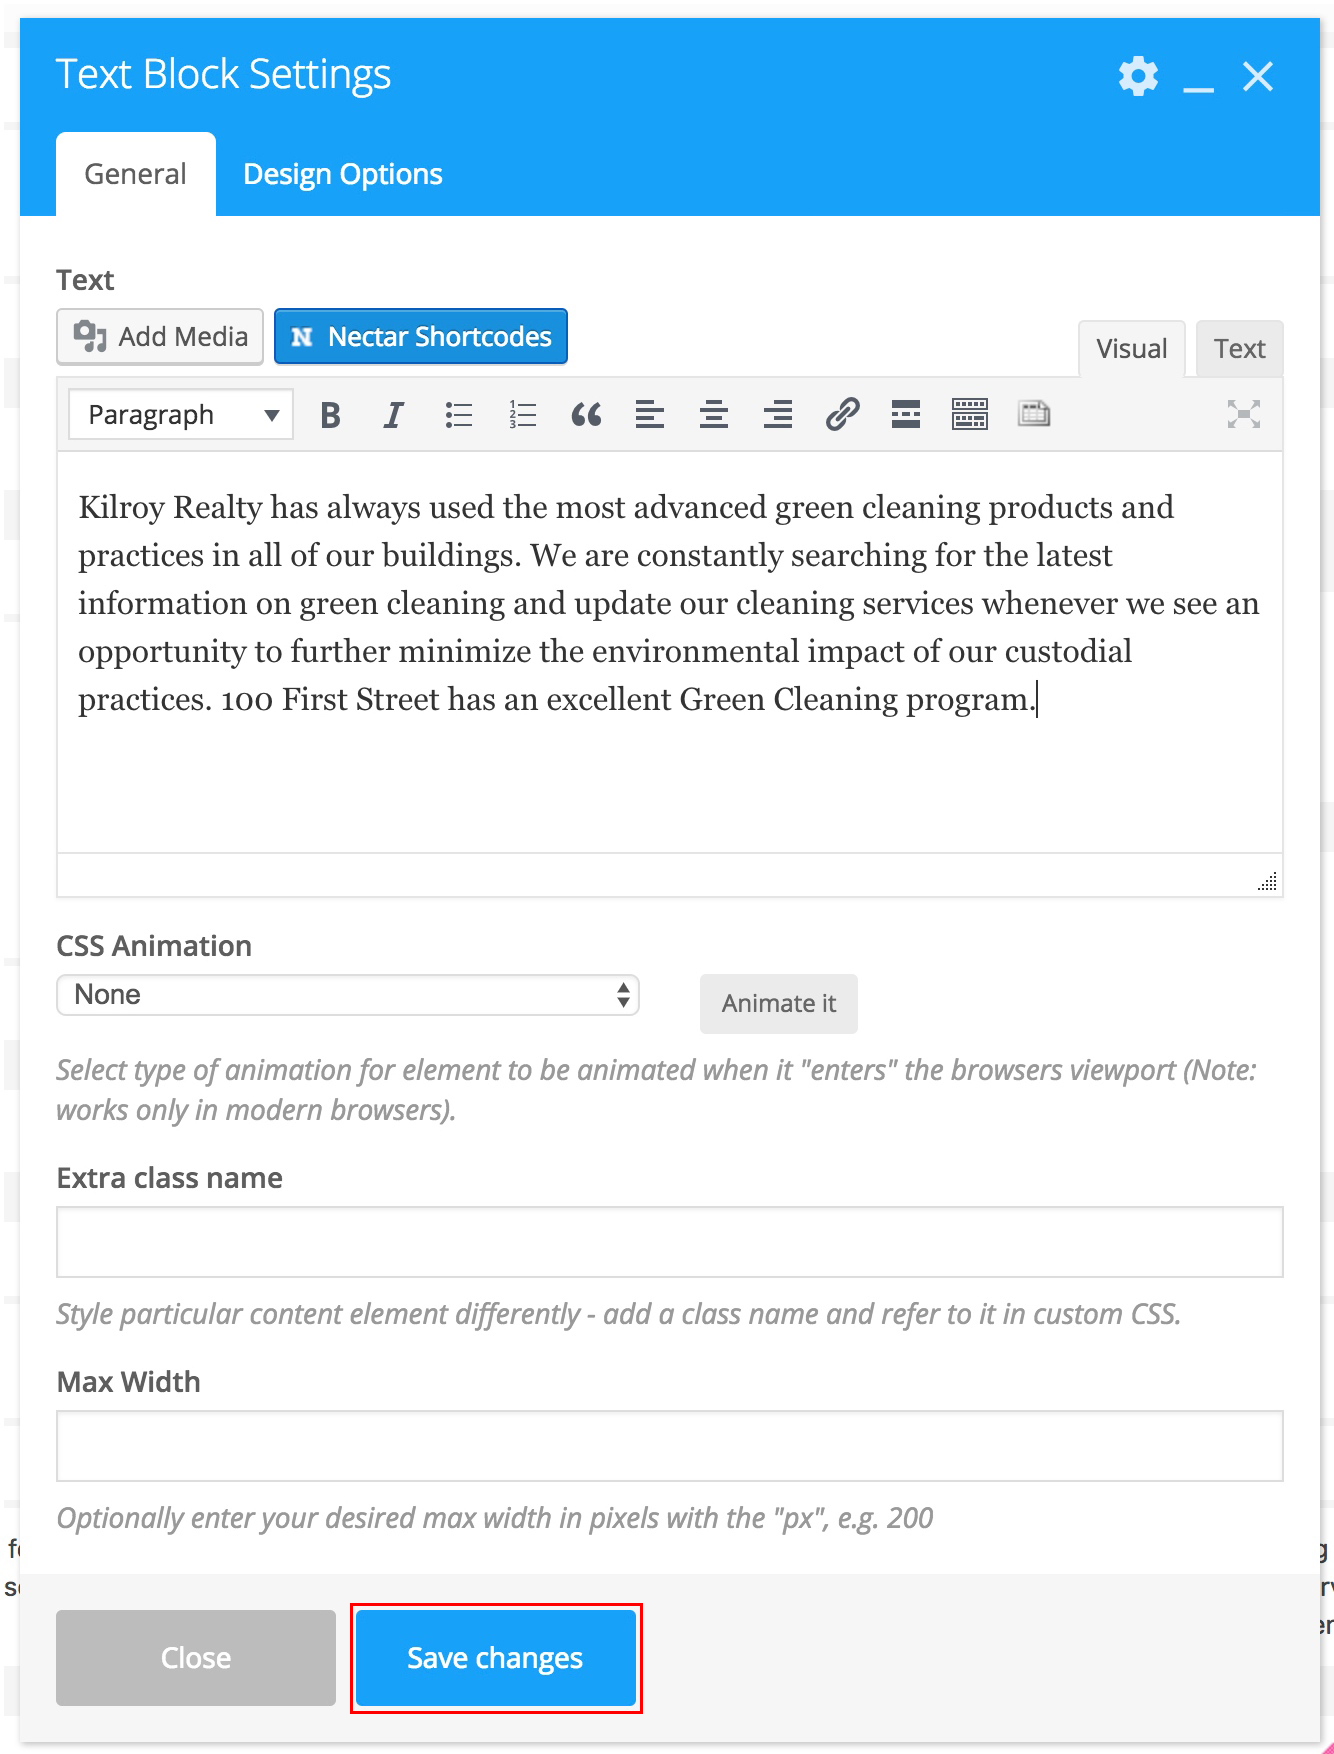
This will bring up the Text Block Settings menu. Click into the text box to begin editing. To change size, change alignment, make the text bold or italic click on the toolbar above the text box. You can also add a link by clicking on the chain symbol. Once you have the text to your liking, click on Save Changes at the bottom of the Settings box. The new/updated text will now appear on the page.
Editing Images
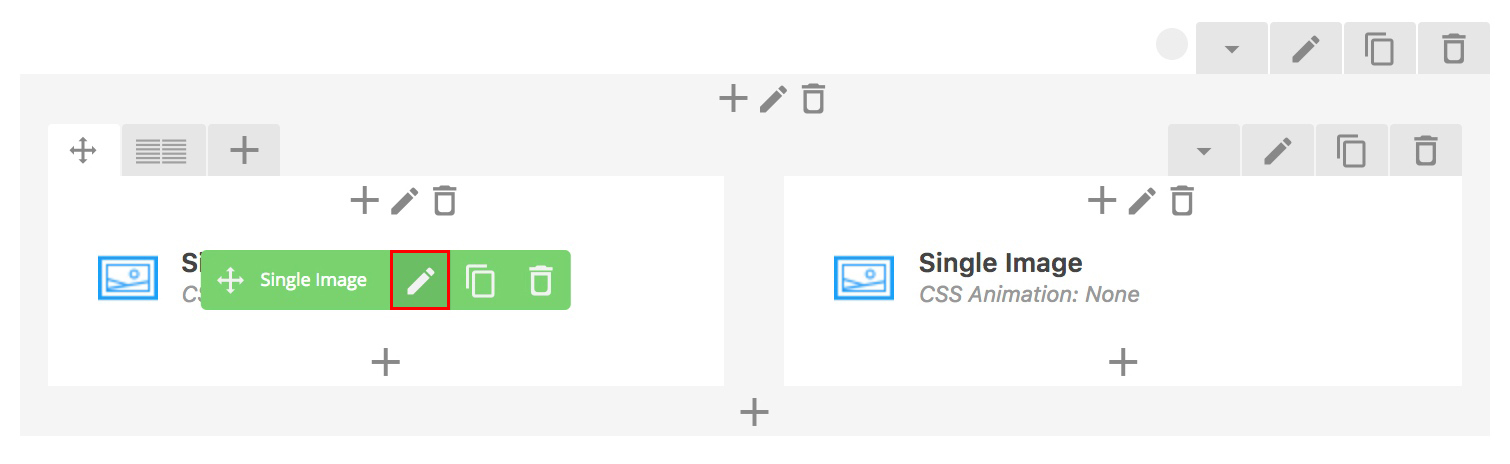
To add or change an image, hover over Single Image section on the page you want to change. This will bring up the Single Image menu. Click on the pencil to change the image.
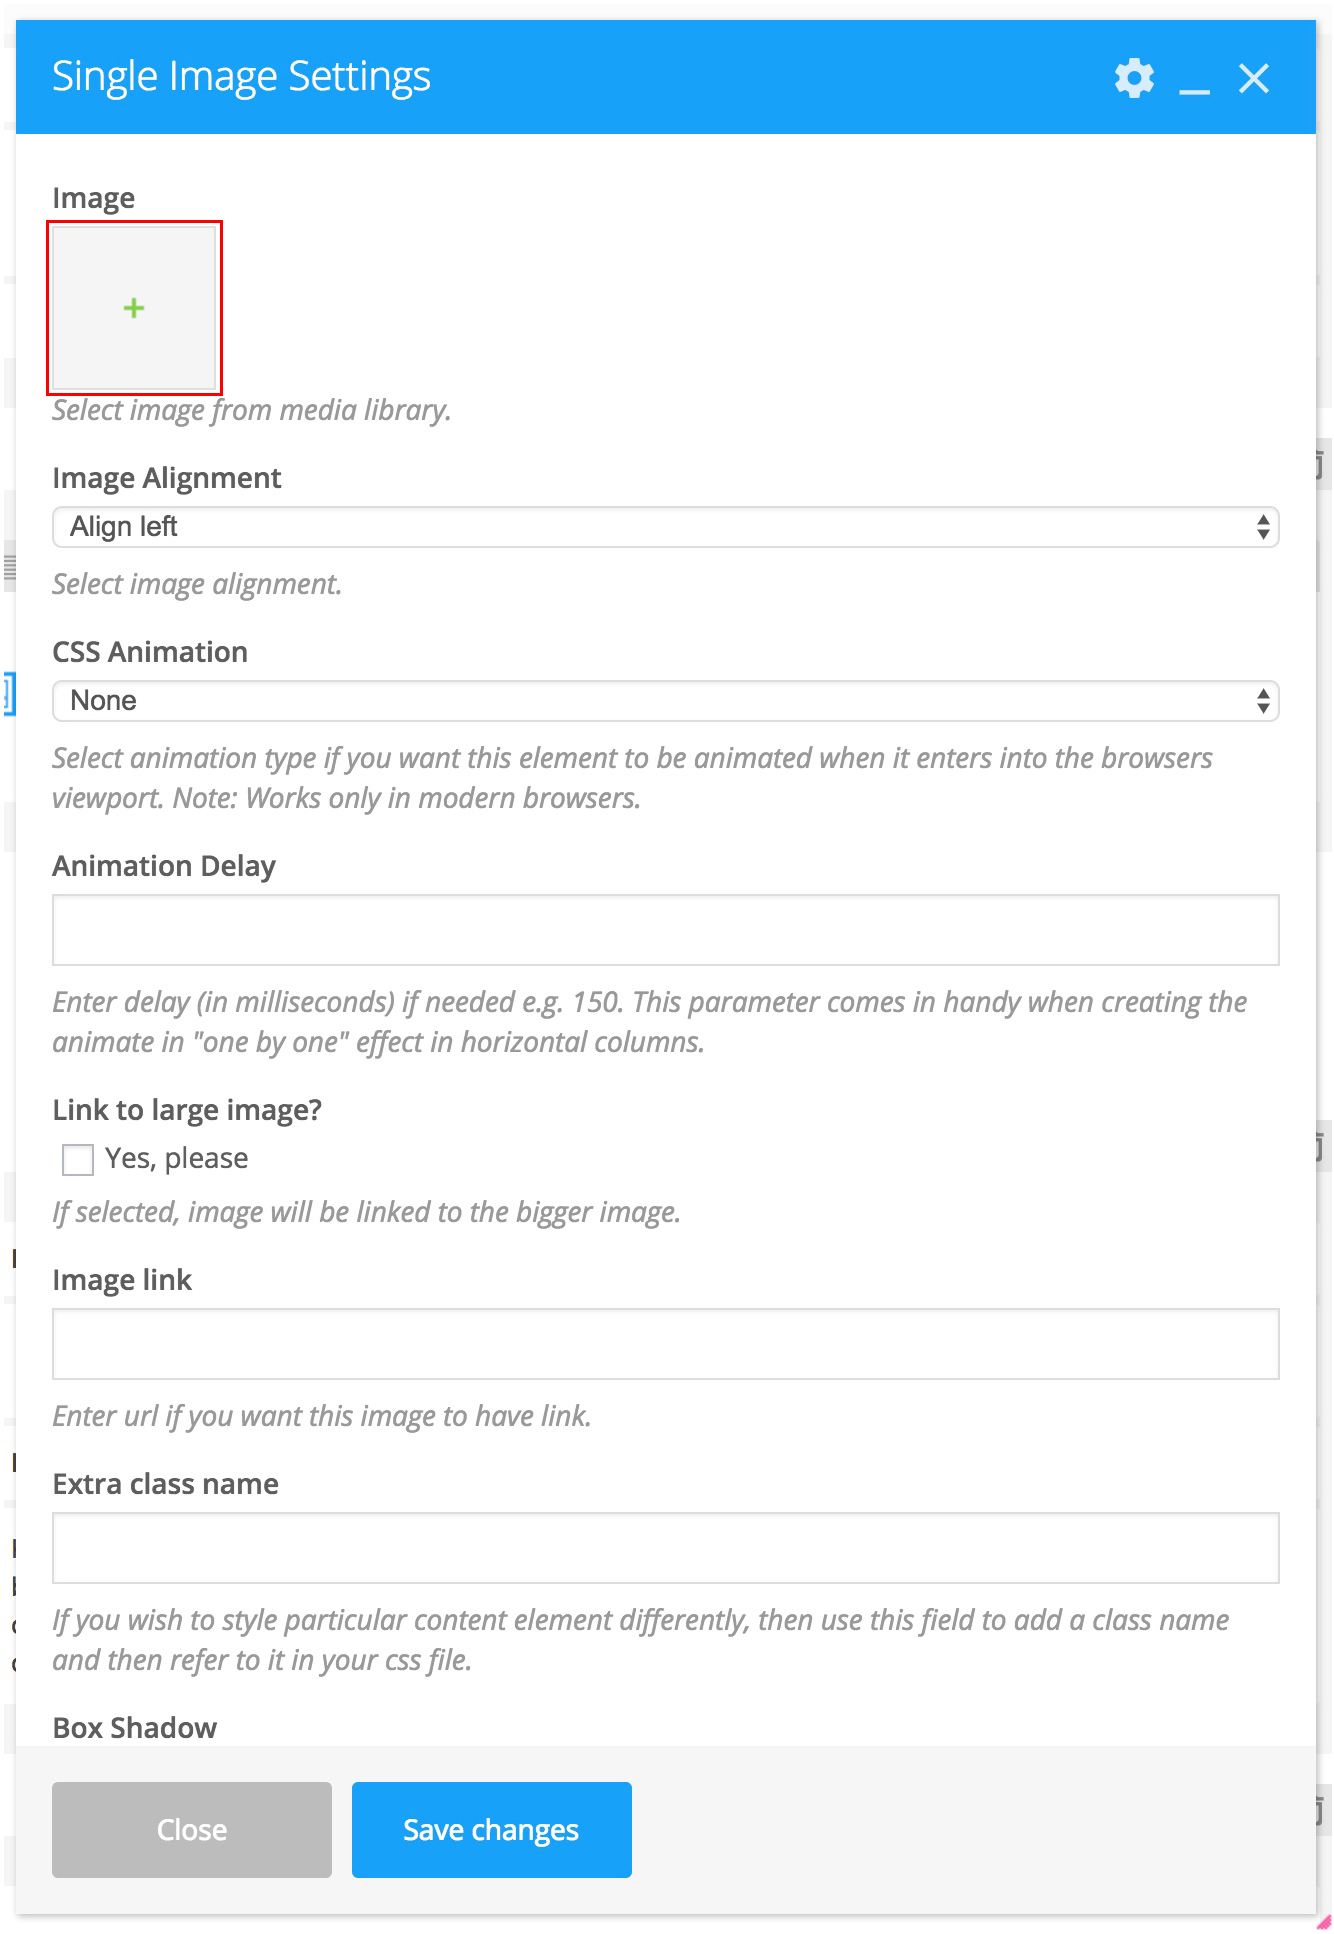
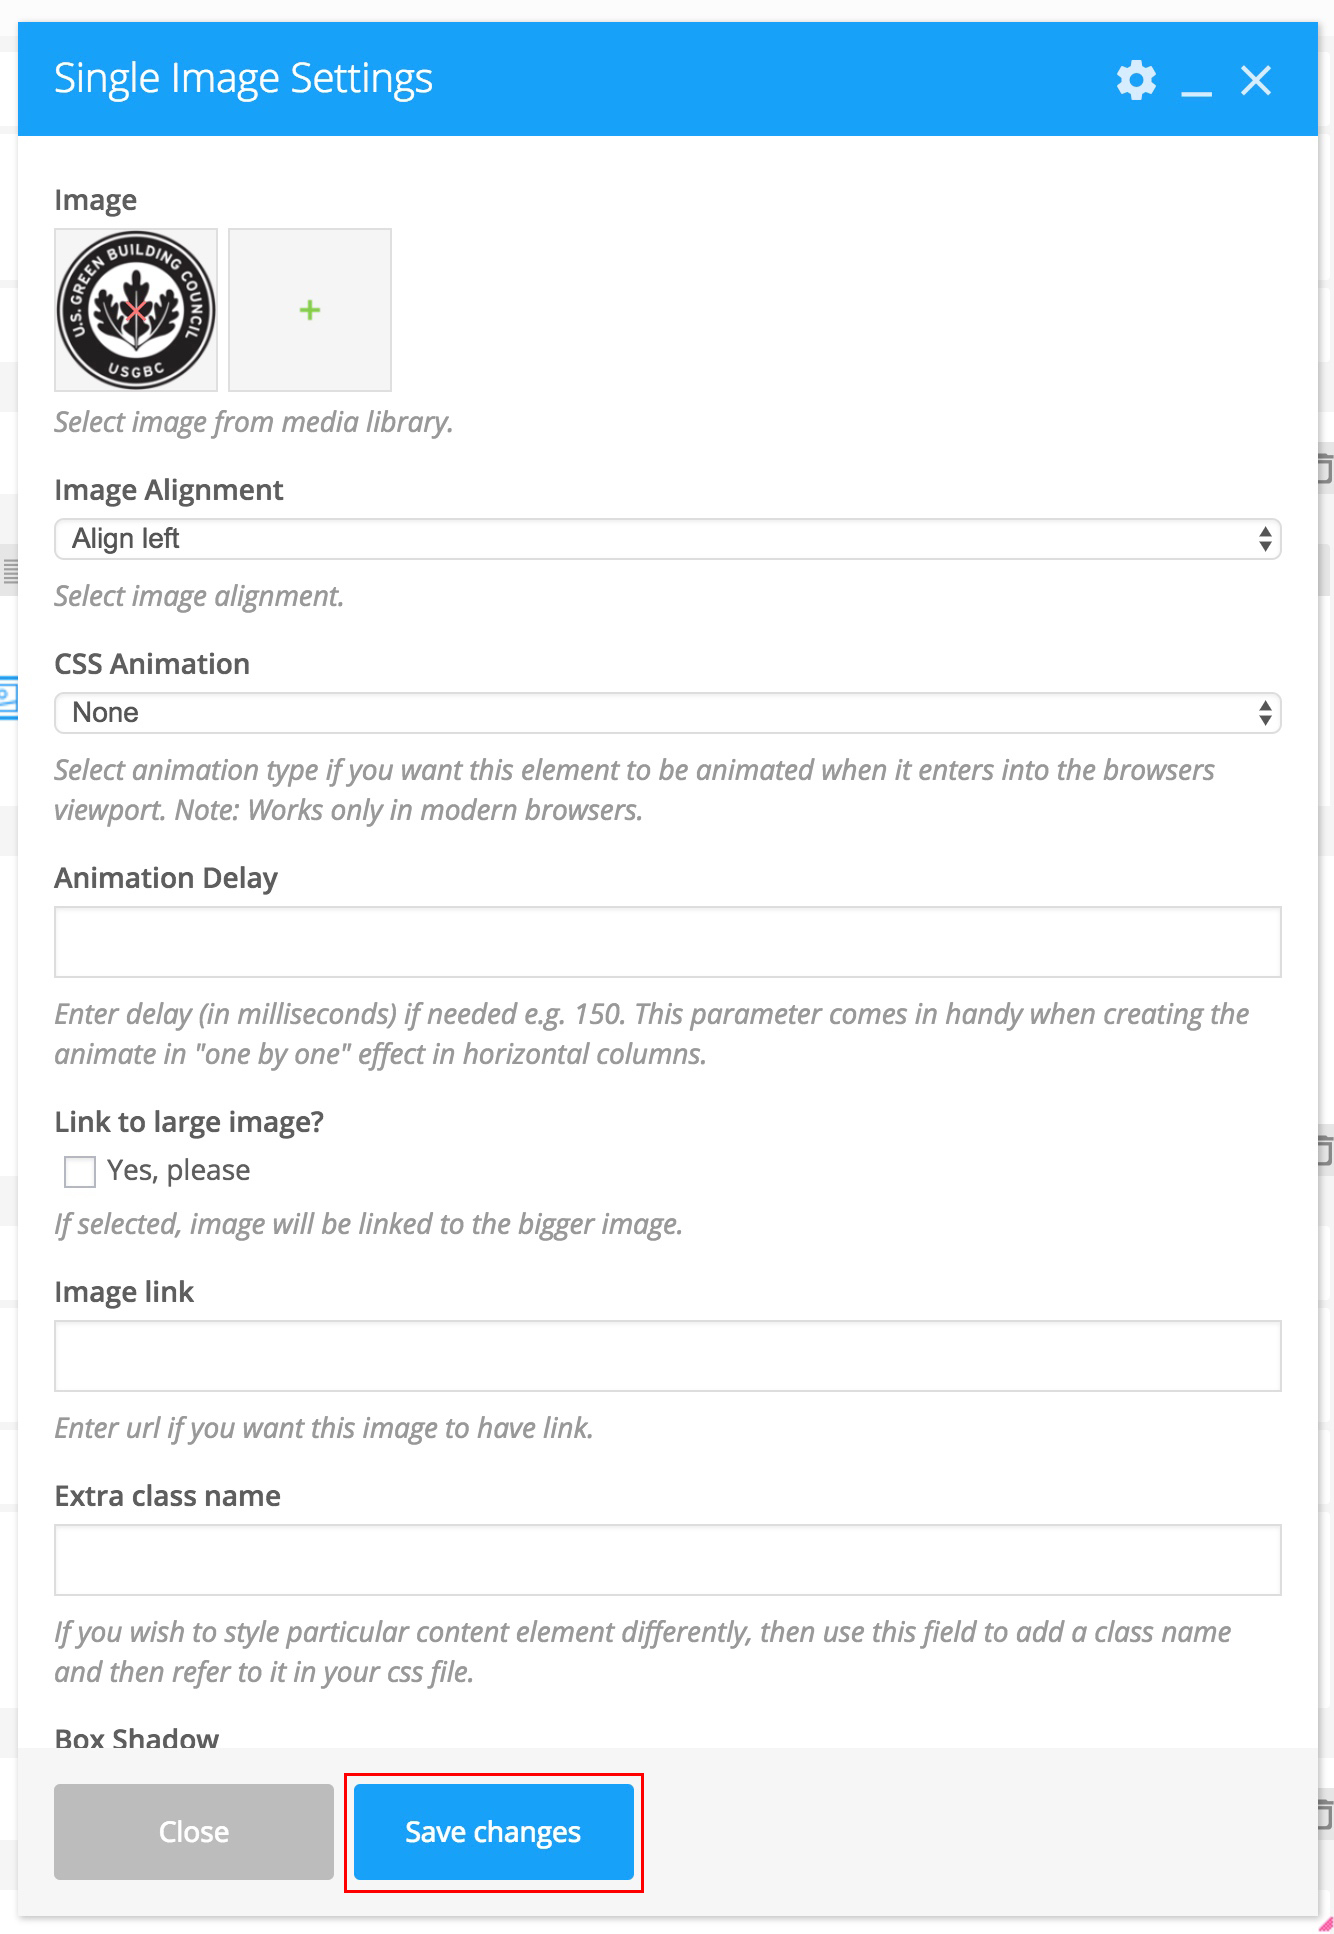
This will bring up the Single Image Settings menu. To add an image, click on the green cross inside the gray box at the top of the screen. This will take you to the Set Image Screen.
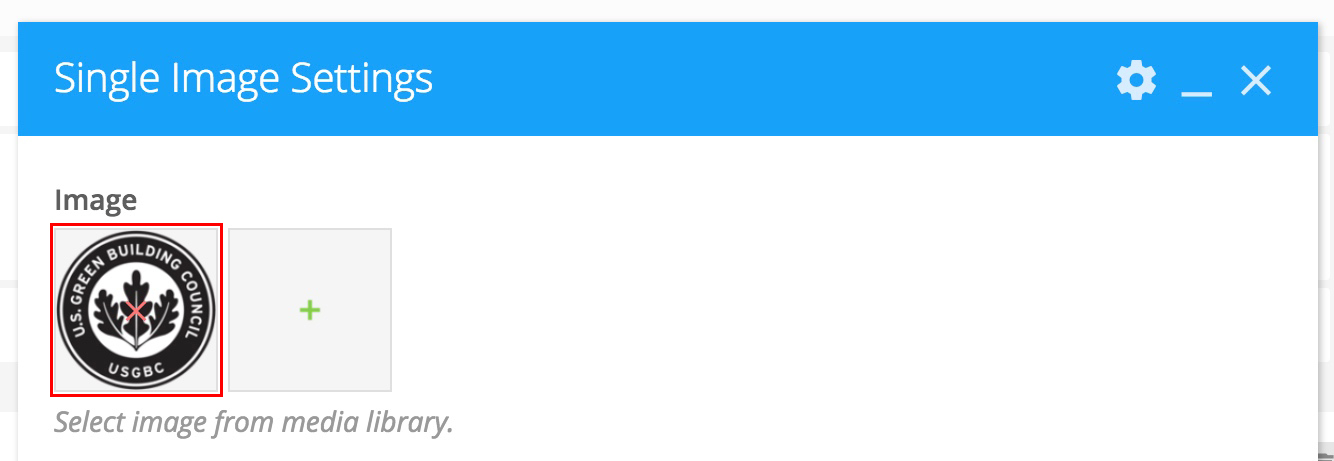
If you want to change an existing image, click on the red x on the image to clear it out, then click on the green cross to go to the Set Image screen. You can also click on the green cross to the right of the image, which will take you directly to the Set Image screen.
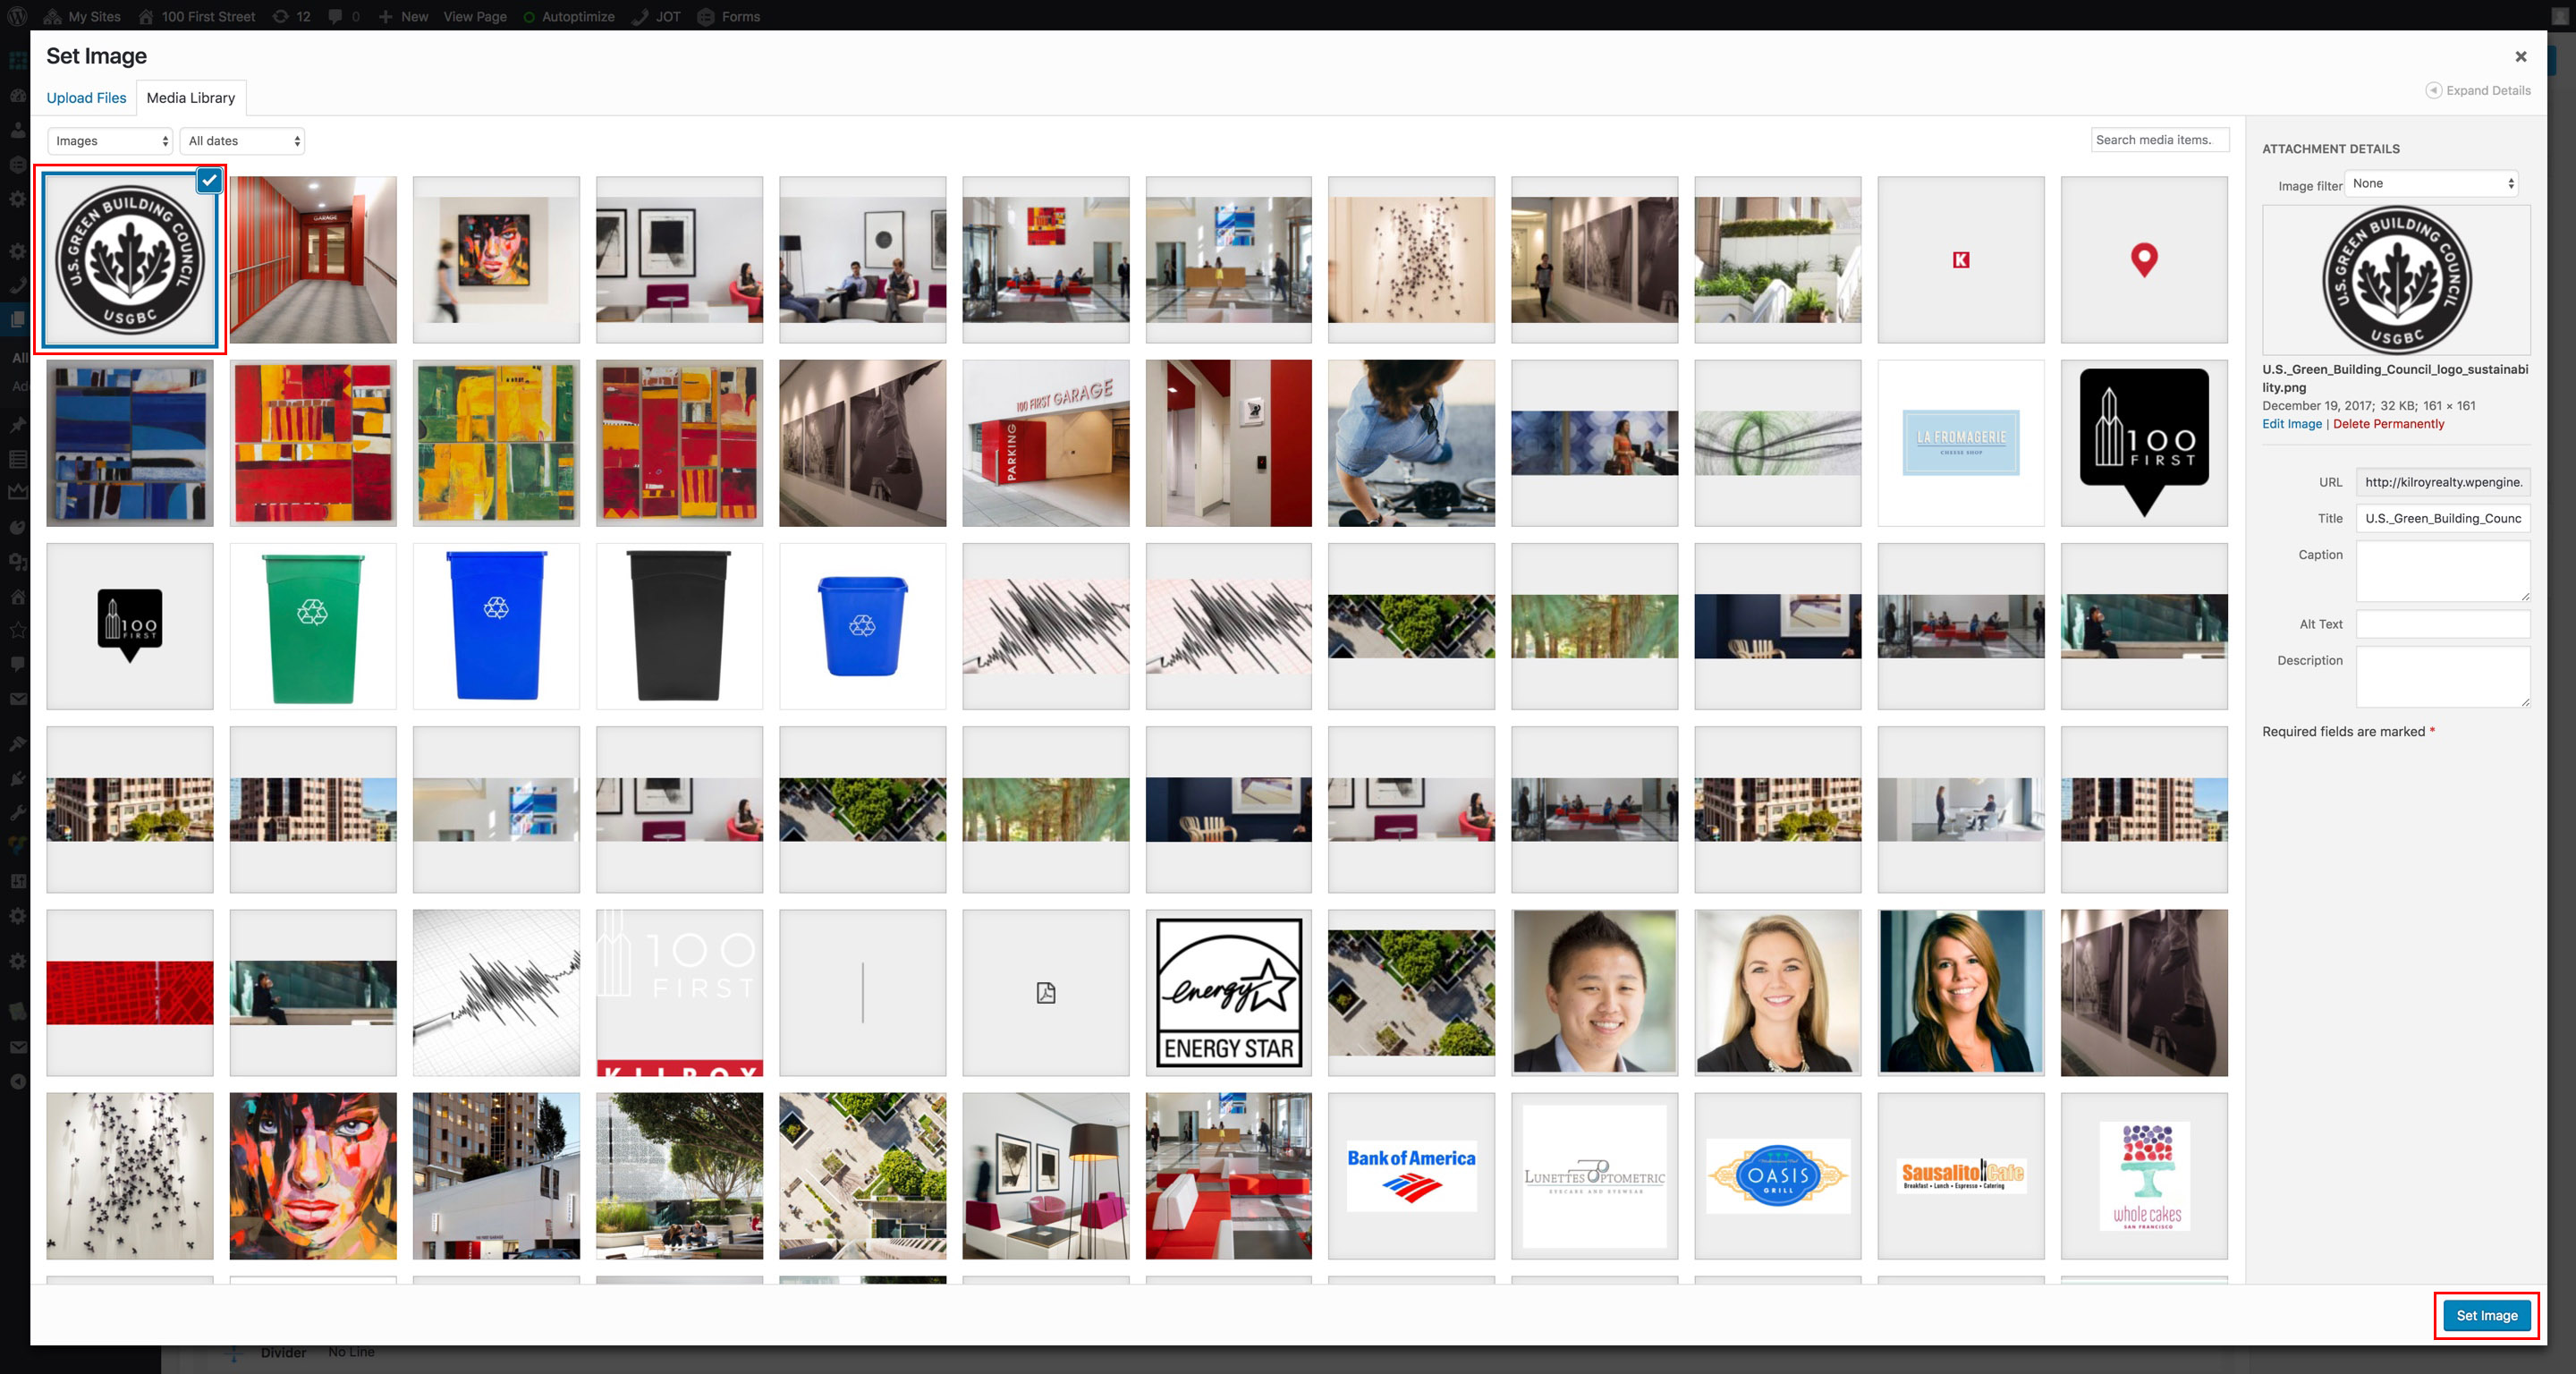
In the Set Image screen, select the image you want to place in the section. A blue checkmark will appear once the image has been selected. When you have decided which image to add, click on Set Image at the bottom right of the screen.
Once the image is set, click on Save Changes on the bottom of the Single Image Settings screen. The new/updated image will now appear on the page.
Finishing an update
In order for the changes to be saved and pushed to the live website, you must update the Page. To do so, scroll back to the top and select Update in the top right corner section or select Update in the scroll bar that appears when you are further down the Visual Composer page. If you want to preview your changes without saving them to the site, click Preview Changes in the top right section or Preview in the scroll bar. This will open a new window/tab with an updated view of the page. When you are satisfied with the changes, click Update.