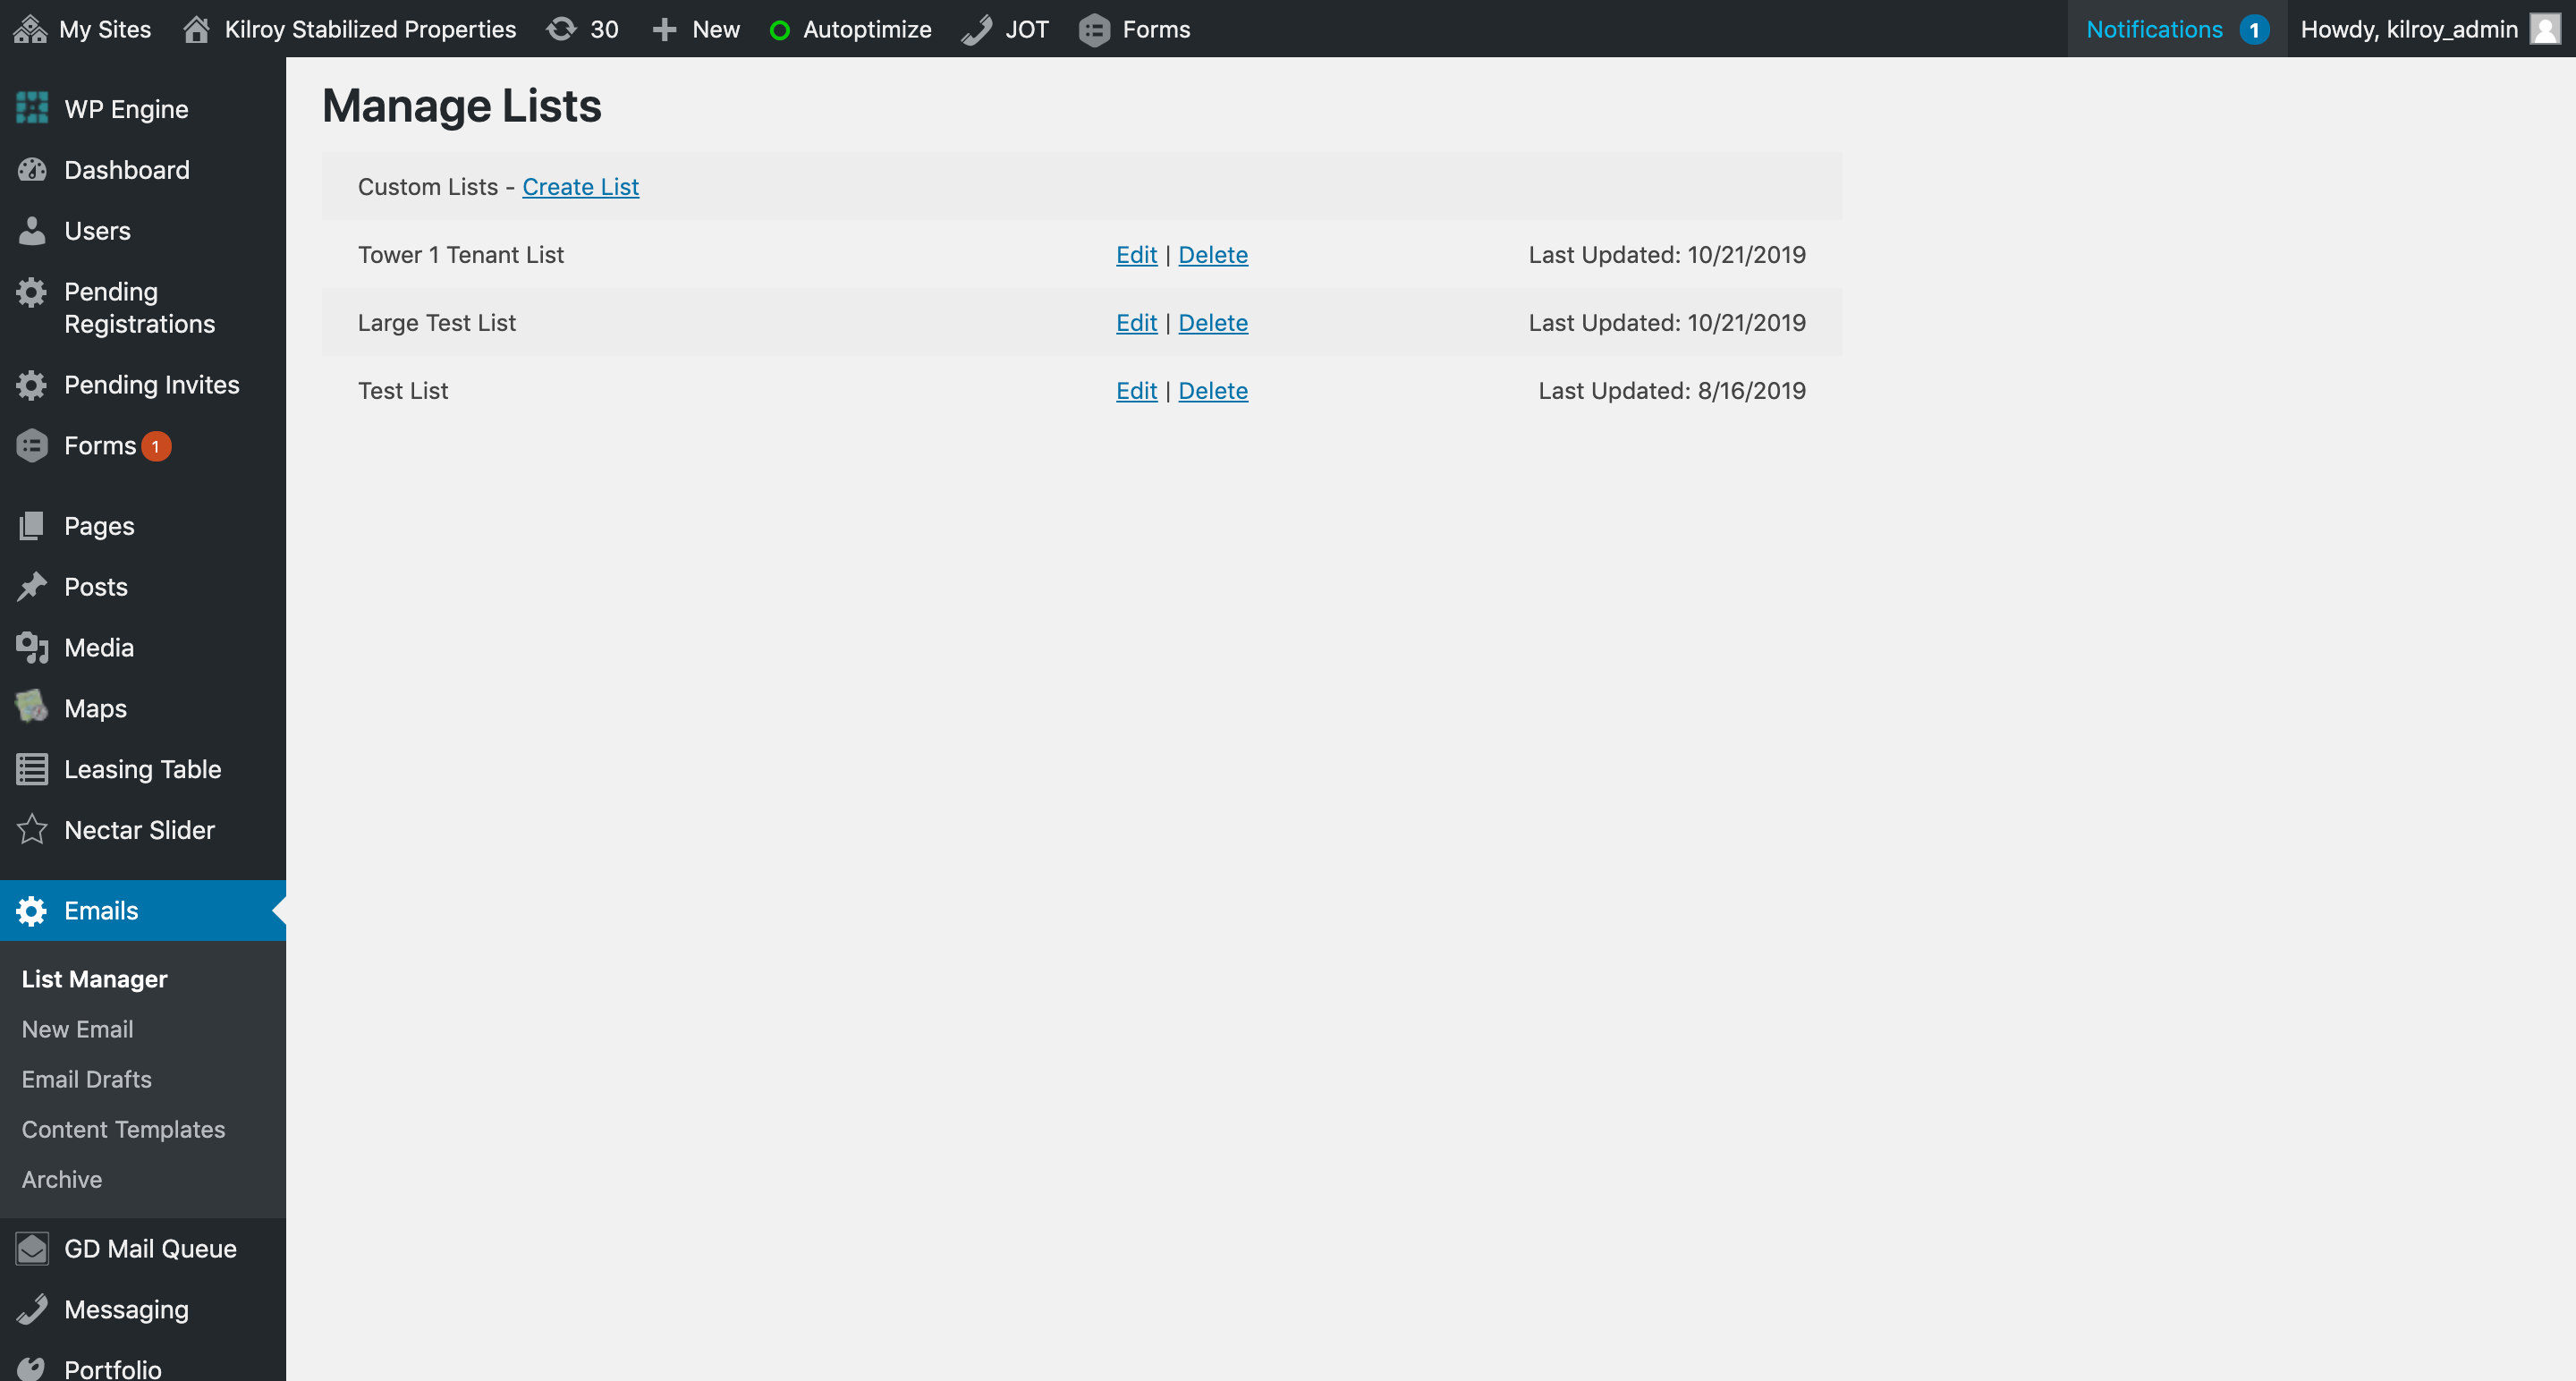
List Manager
To create a new tenant recipient list click the Create List link. To view and edit email lists click on the Edit link. This will produce an overlay modal of the selected email list. Click the Delete link to permanently remove the email list.
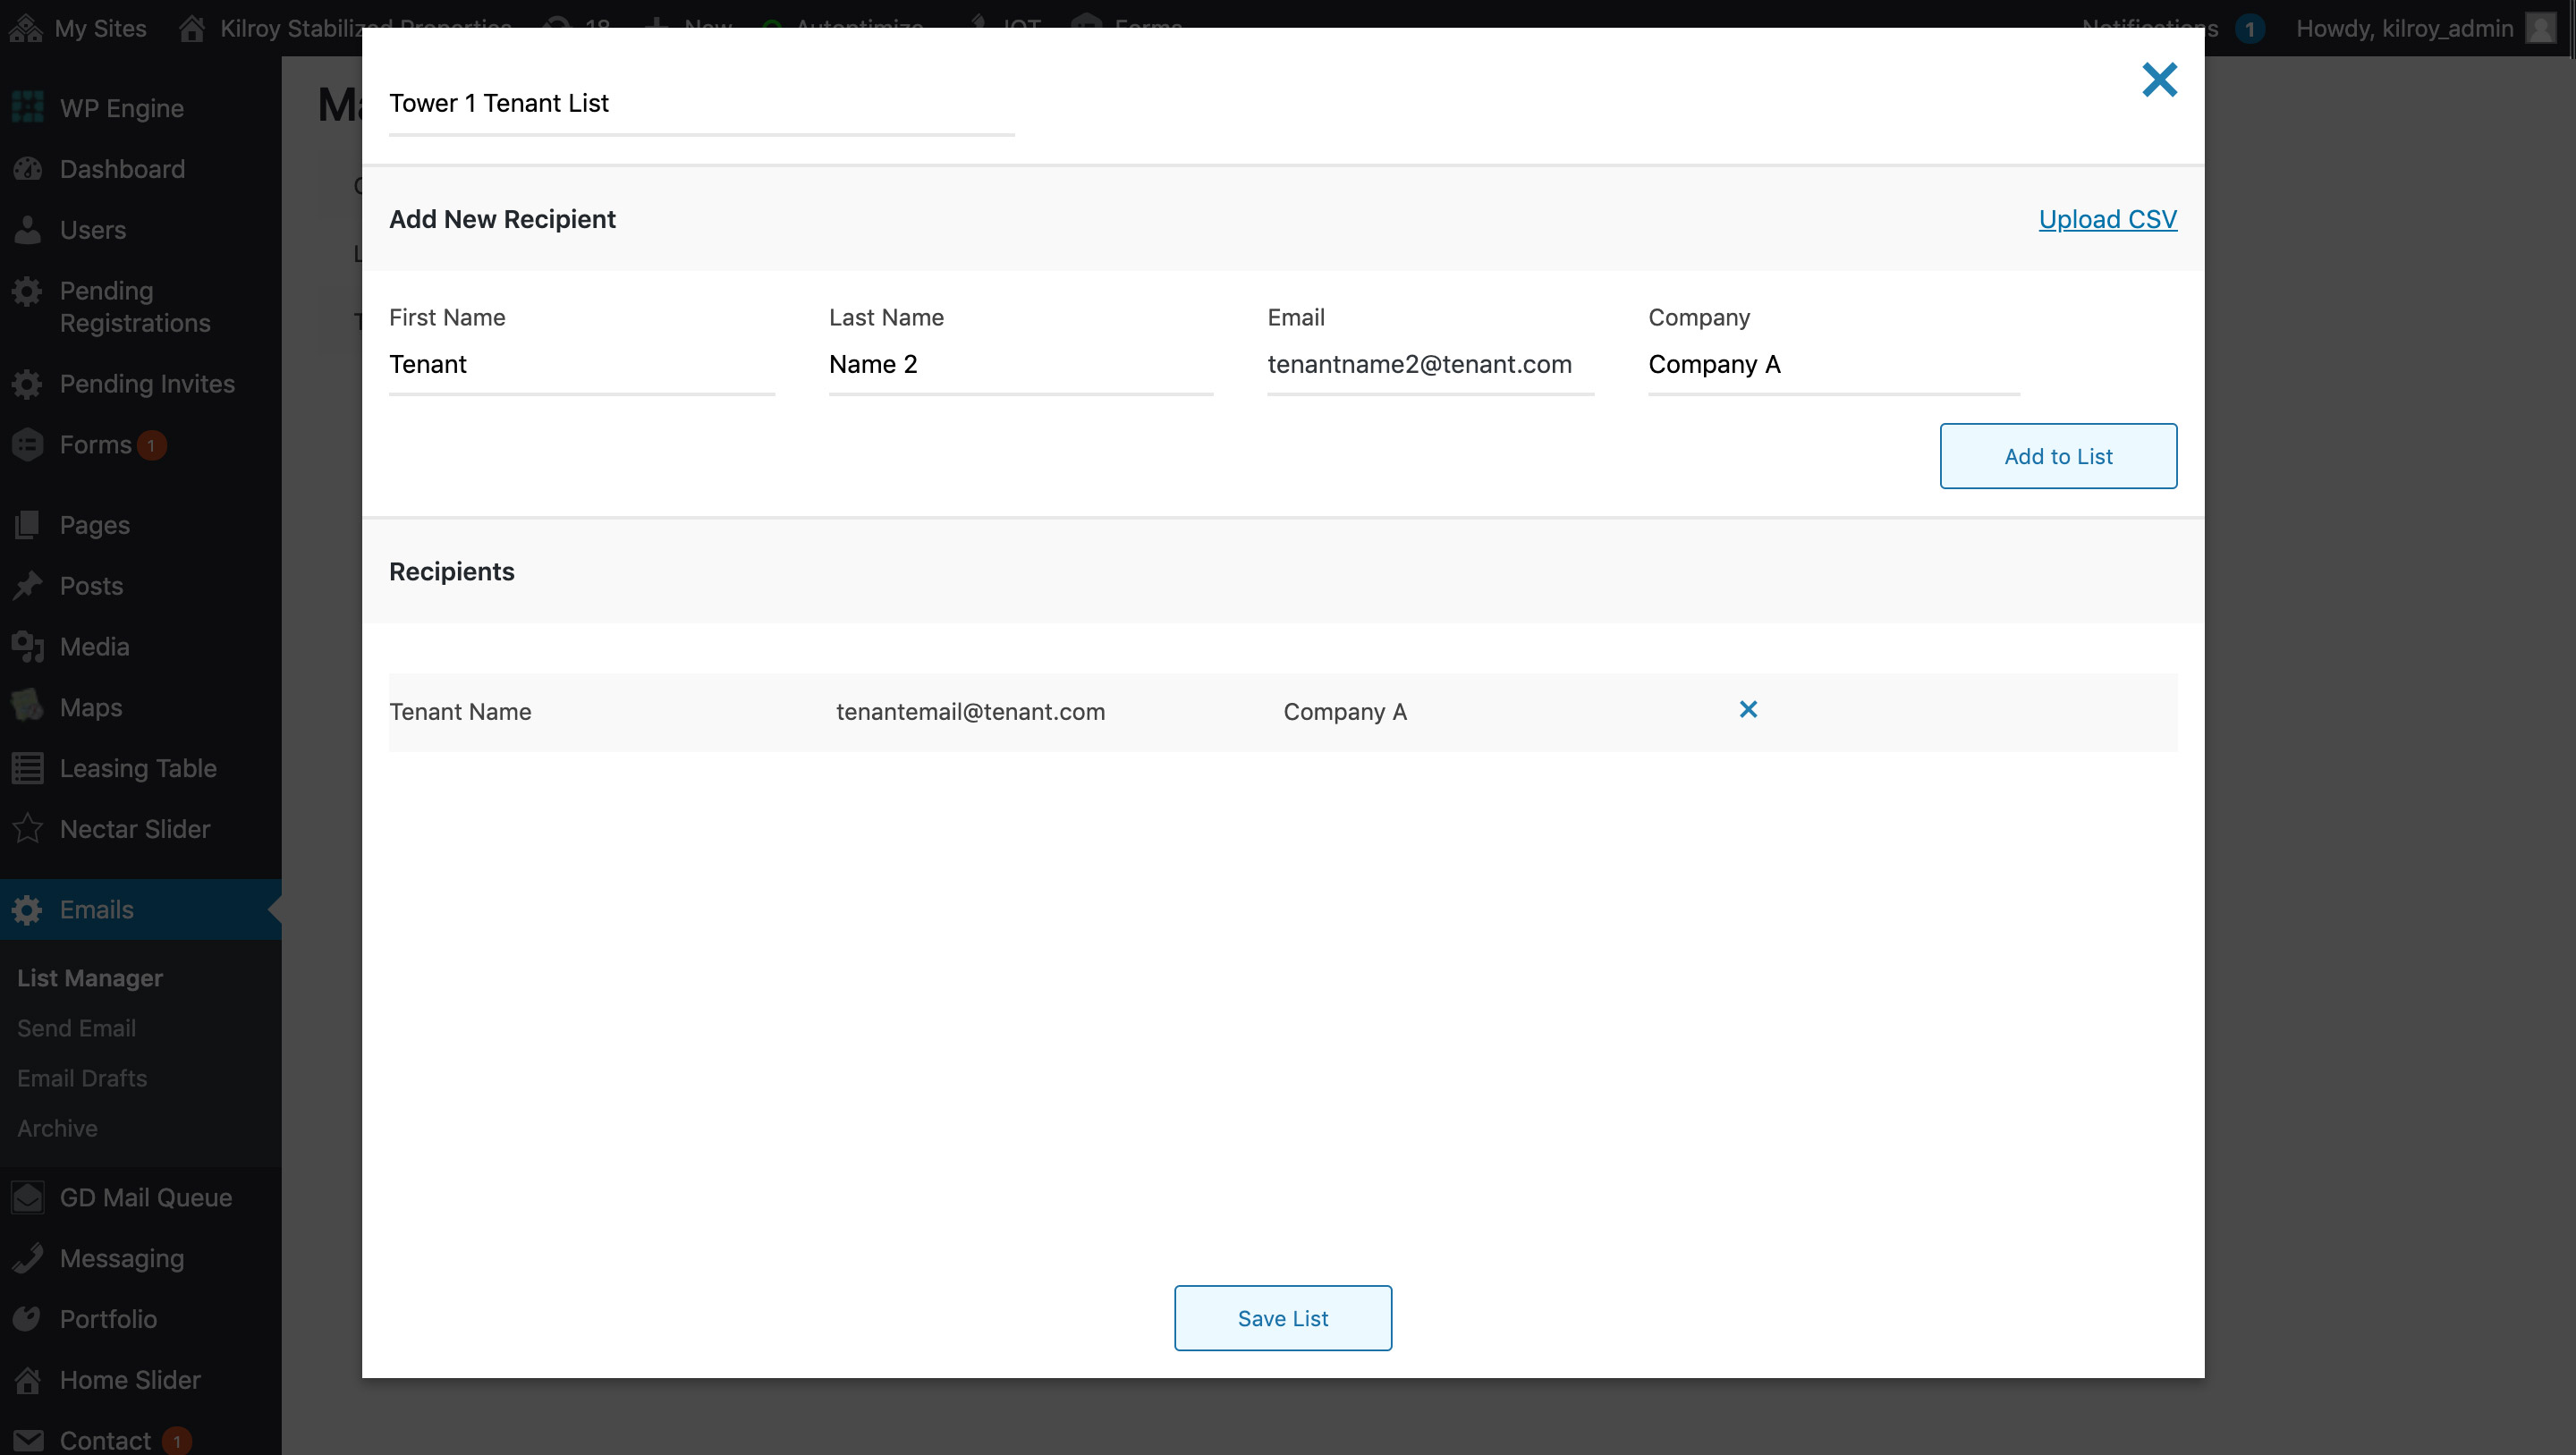
Create a List
After clicking Create List, an overlay modal will pop up. Enter a name for the list. Add recipients one at a time and click Add to List. Click the X next to a recipient name to delete them from the list. To add an existing CSV email list from your computer, click Upload CSV (download sample format). This will populate the recipient section of the email. Click Save List to save, or the X to close the modal and not save.
Create an Email
From this page, you can:
- Create a new email
- Start from a previously saved template
- Clone a previously sent email
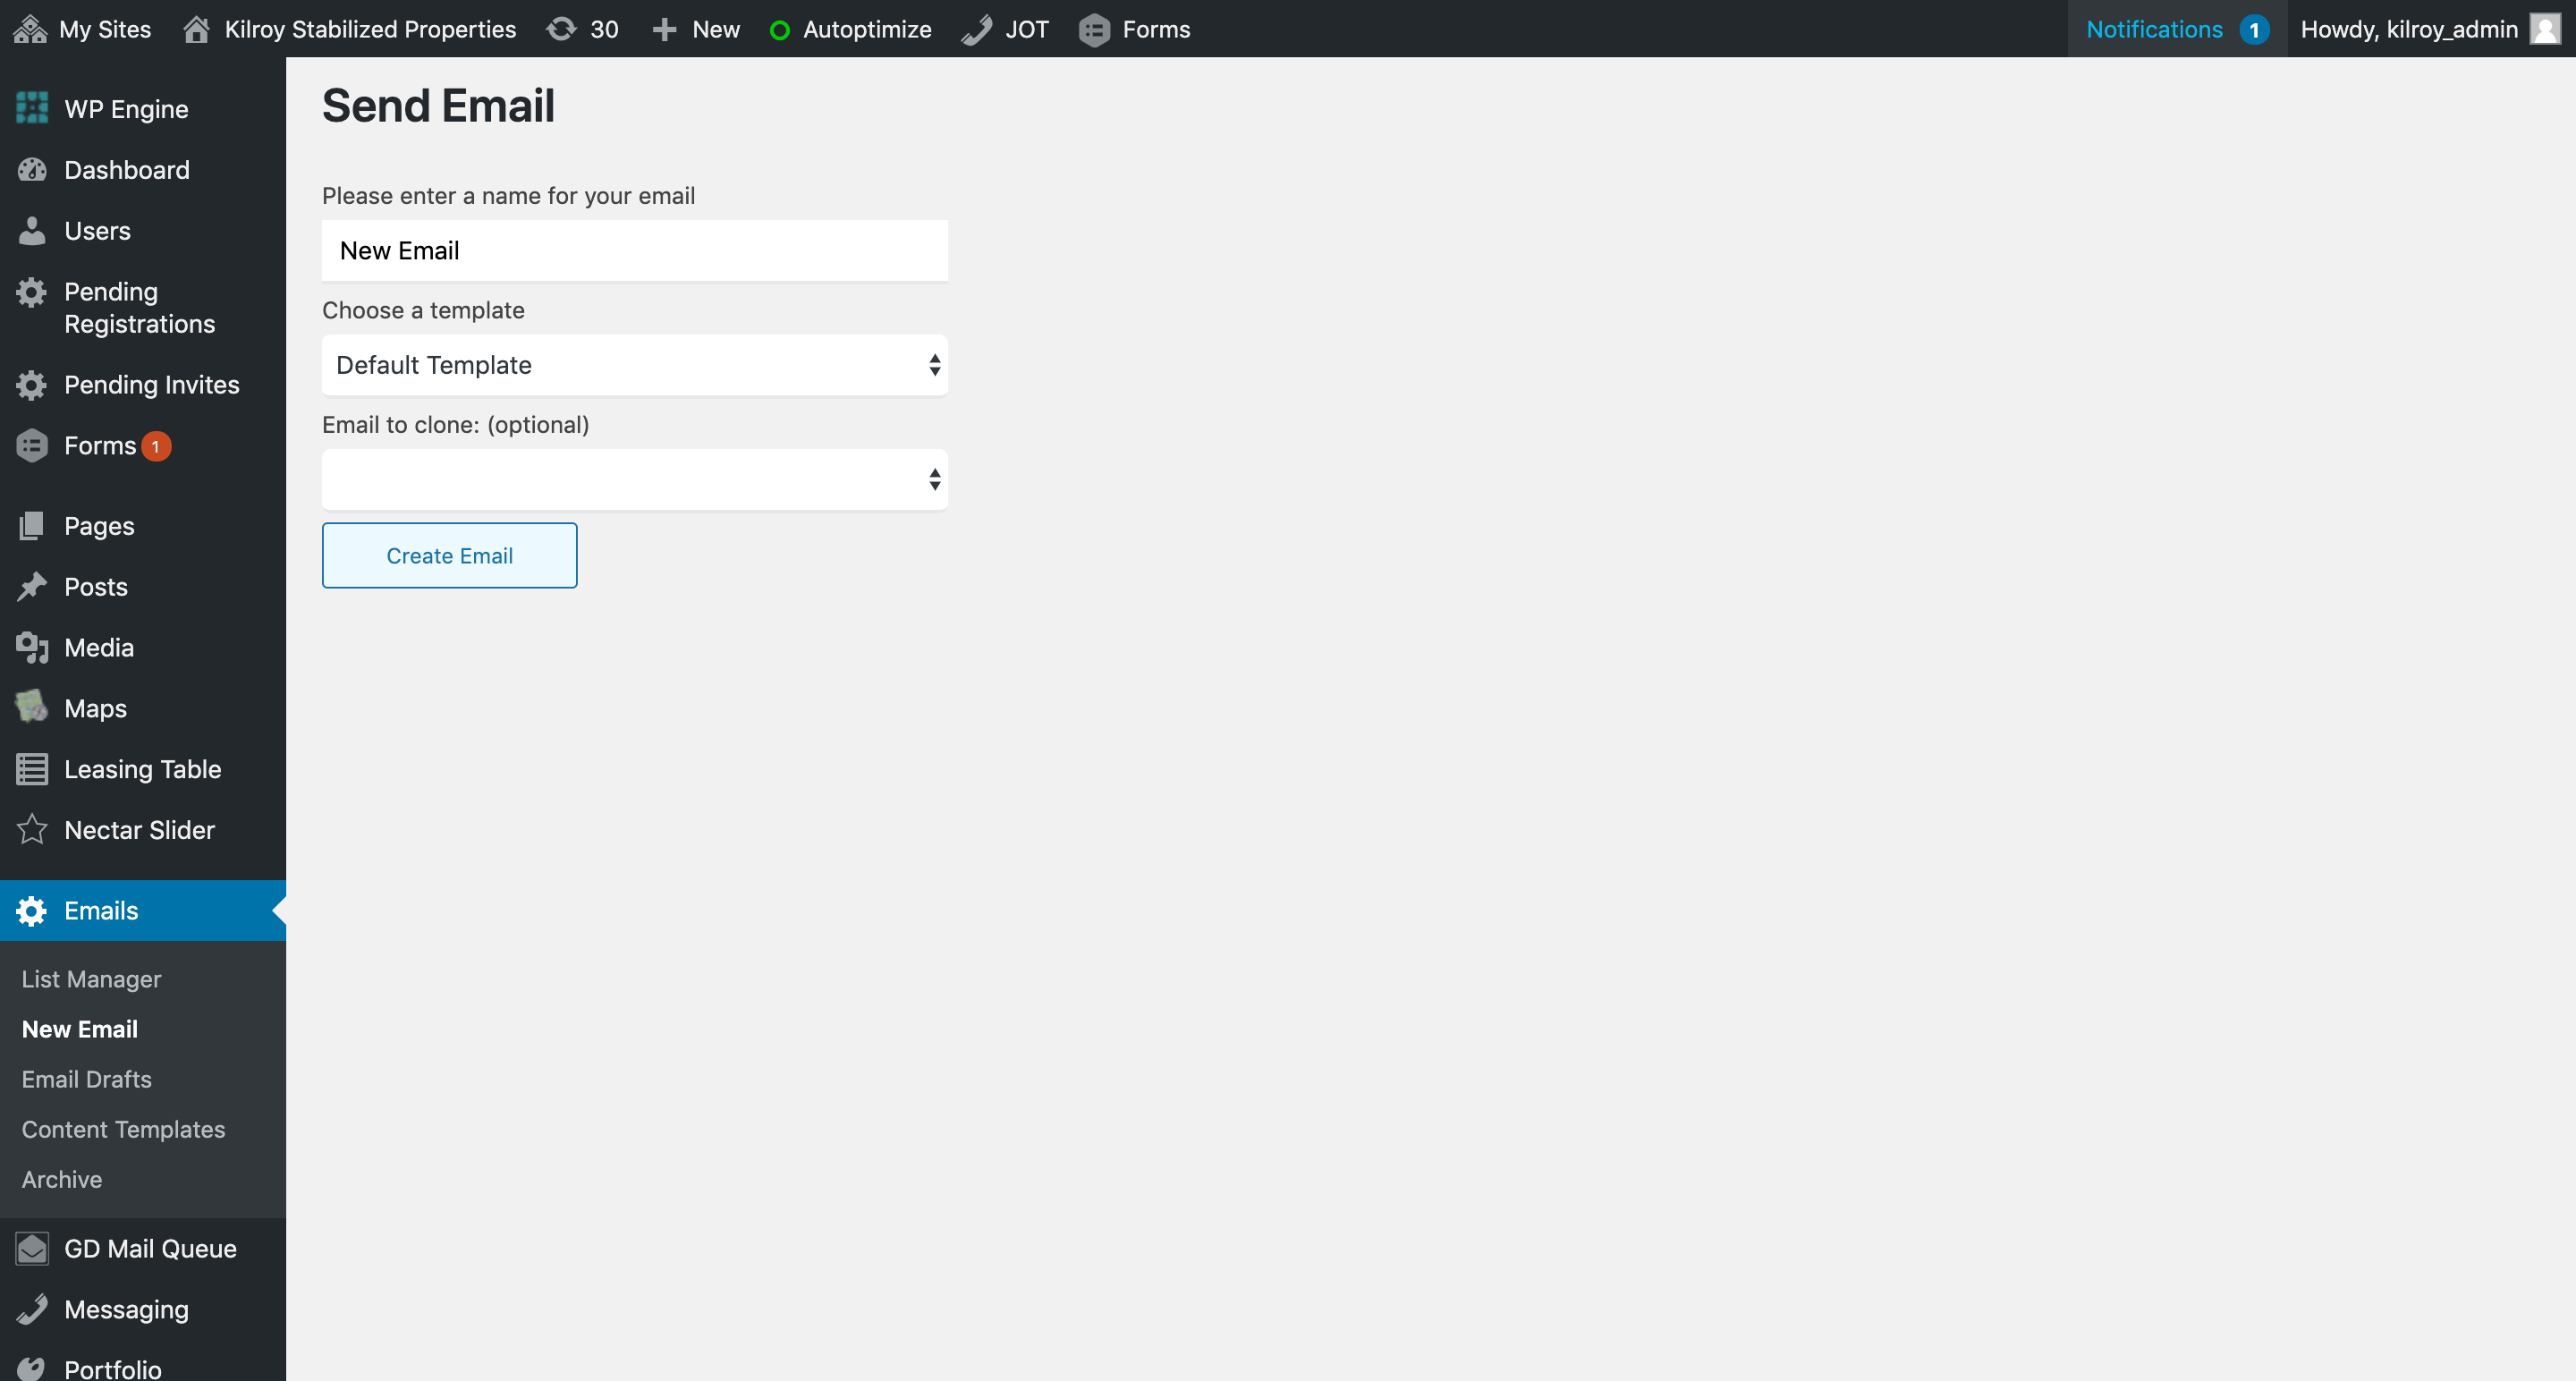
Selecting any of these options and clicking Create Email will launch the email editor.
If selecting a template or cloned email, the editor will be pre-populated with both the content (and recipient list, for archived emails) from the previously saved email.

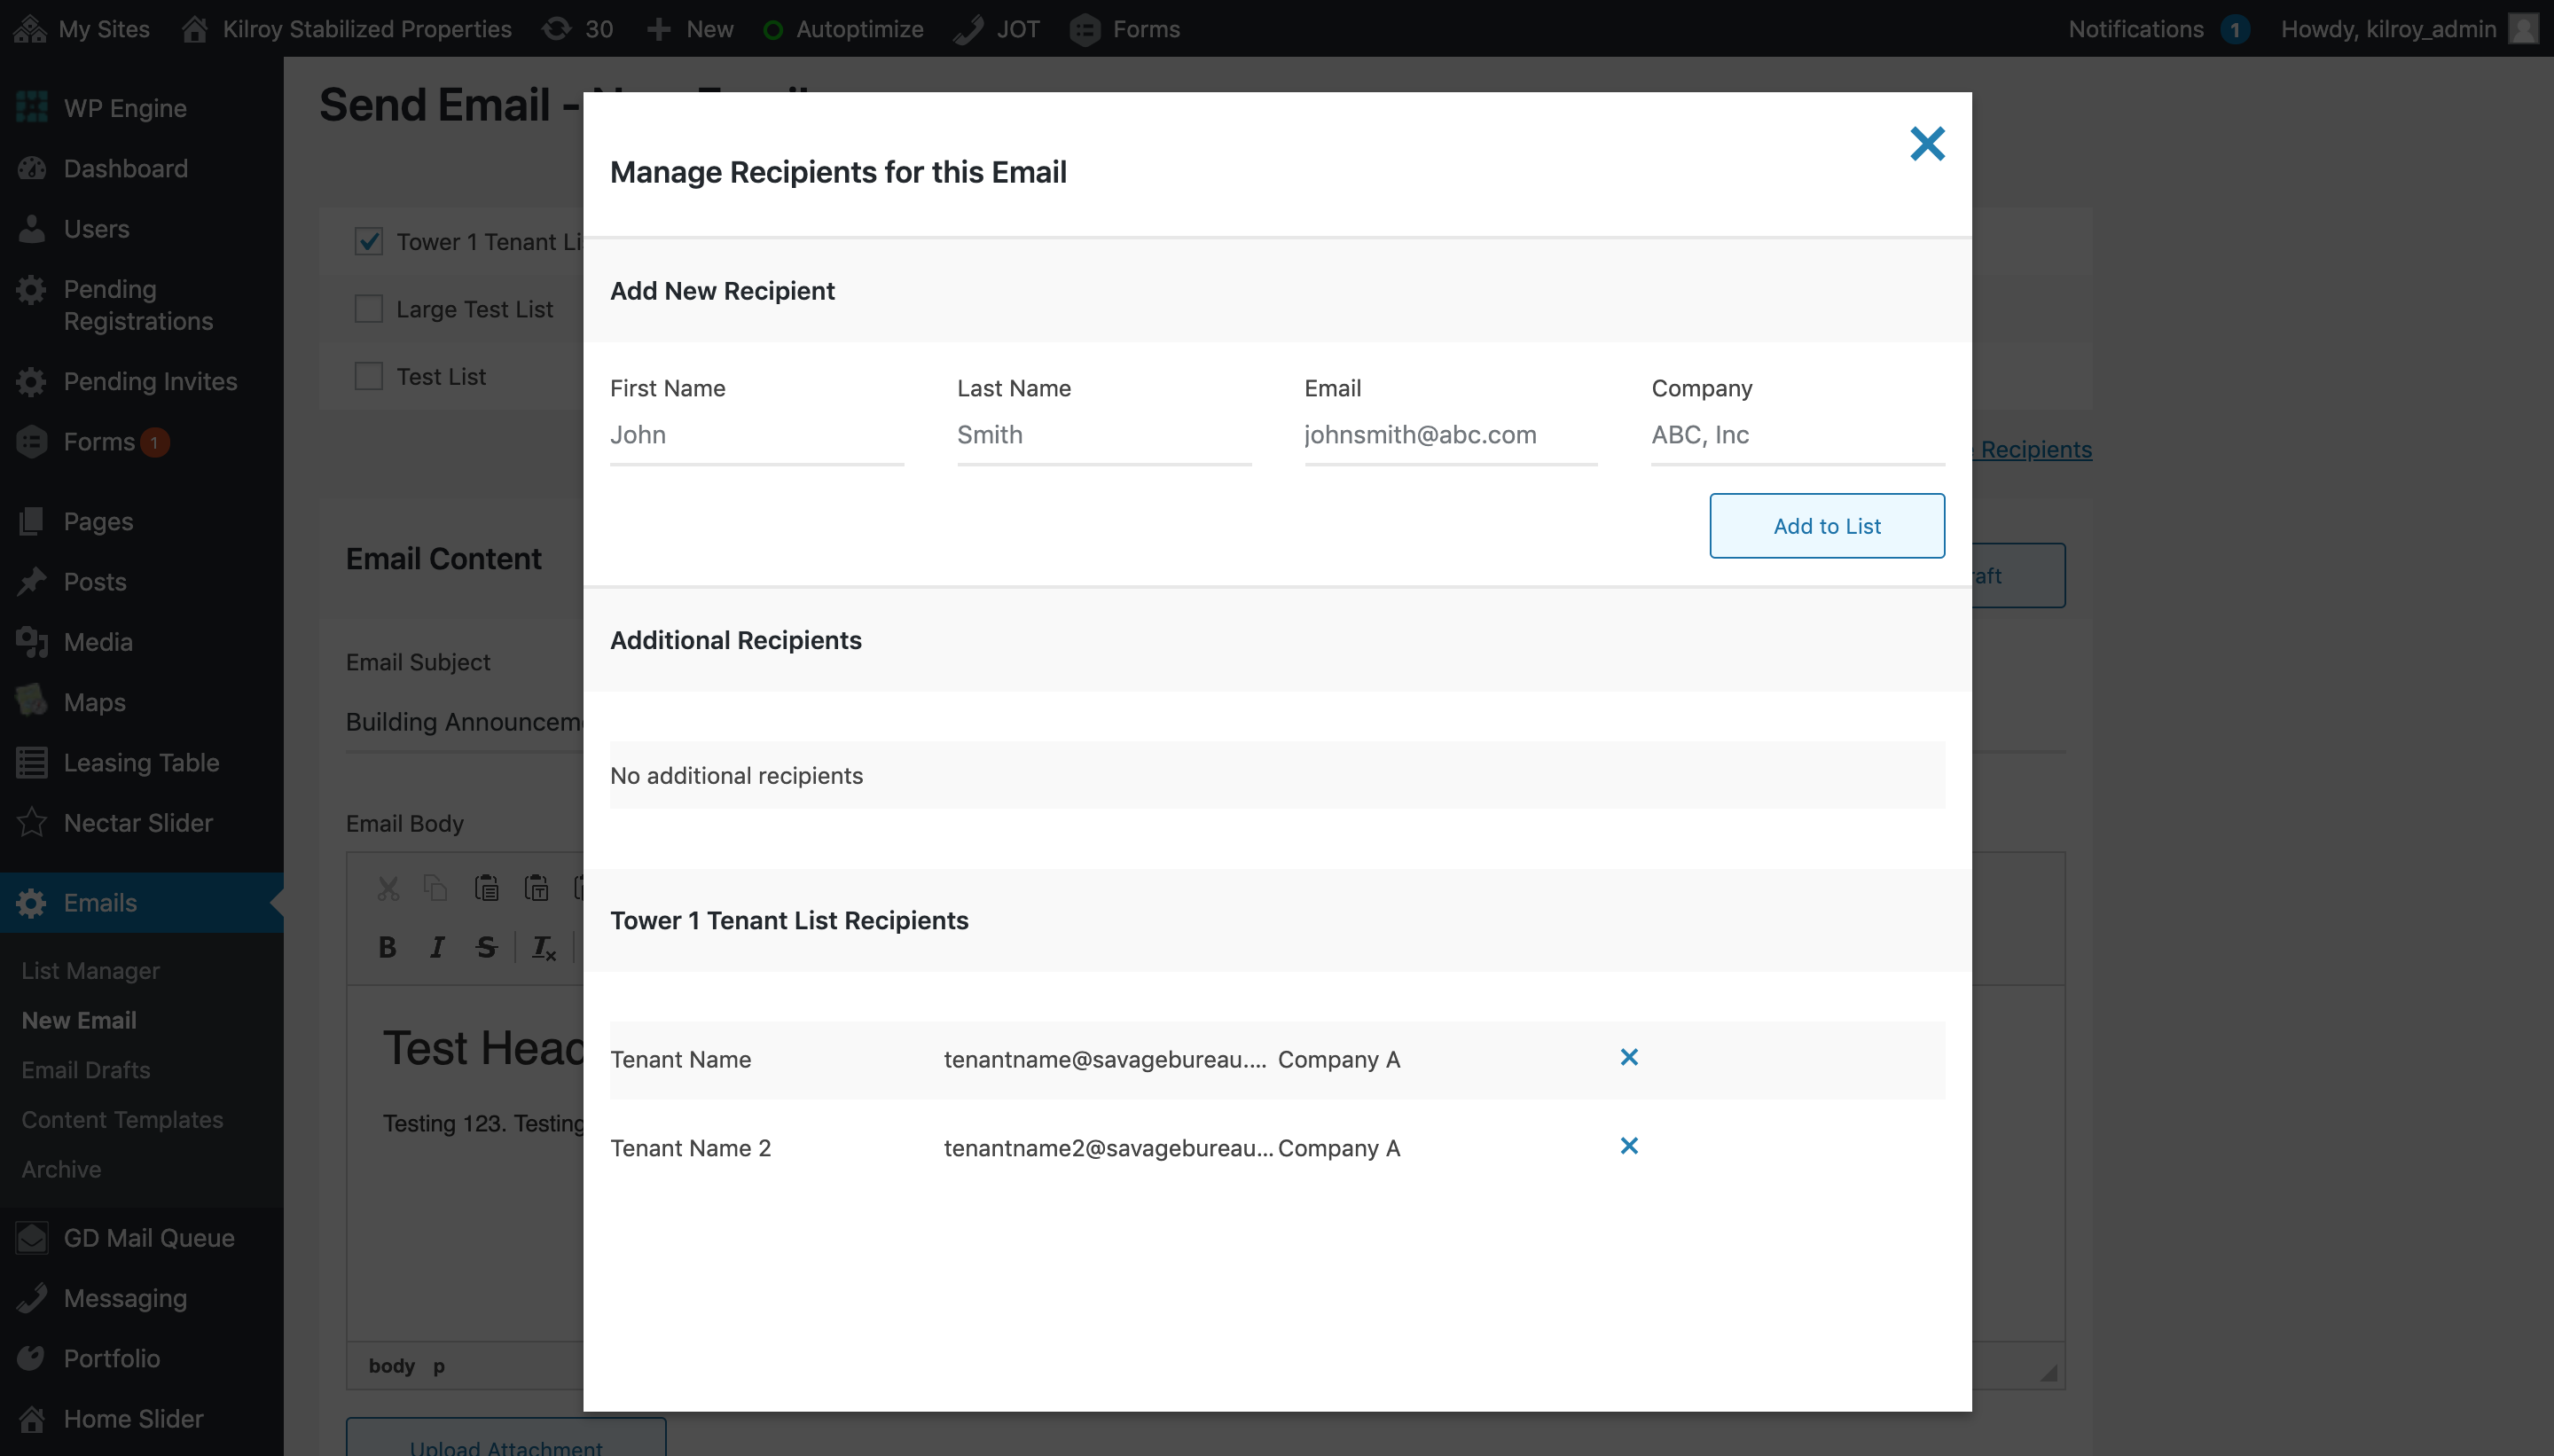
You can select and/or combine email lists by using the checkbox, or customize your list by clicking Manage Recipients.
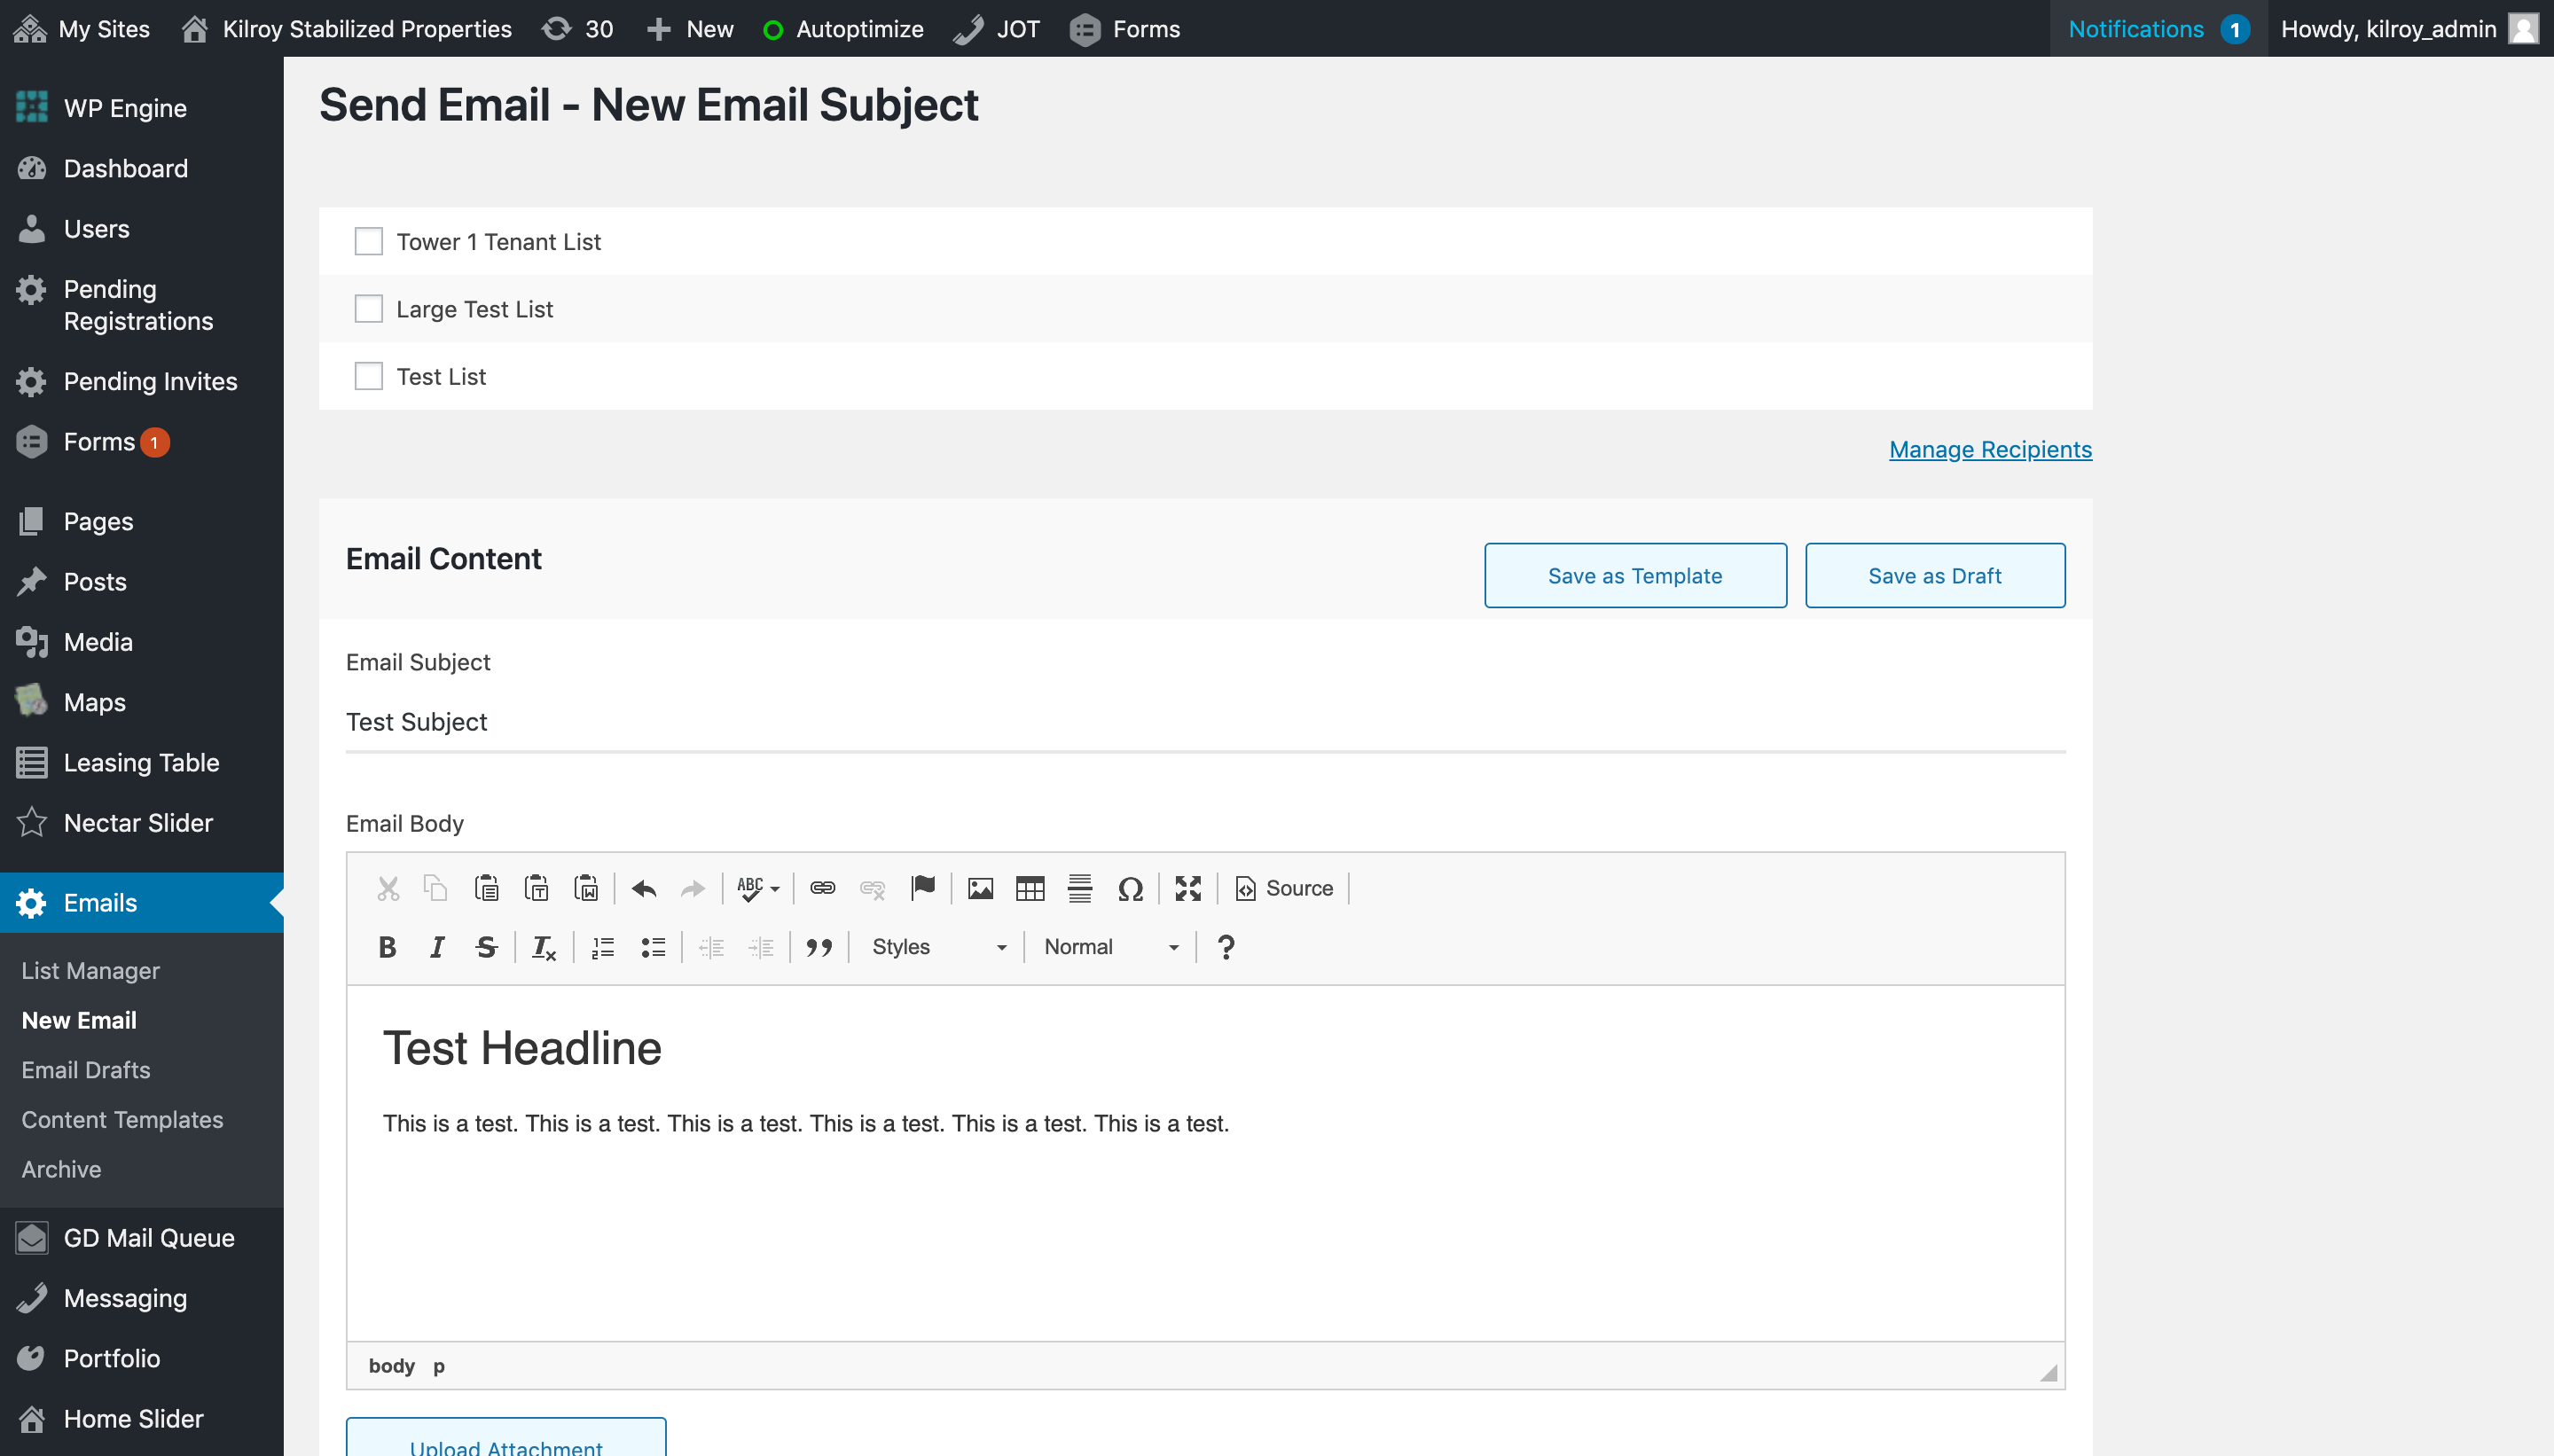
Under Email Content, add your subject line. Then, add your message content.
In the text editor, you can select paragraph and header styles from the dropdown. Use HEADING 1 for the body copy headline, and Paragraph for the body copy. Multiple combinations of this structure can be entered.
Adding Images
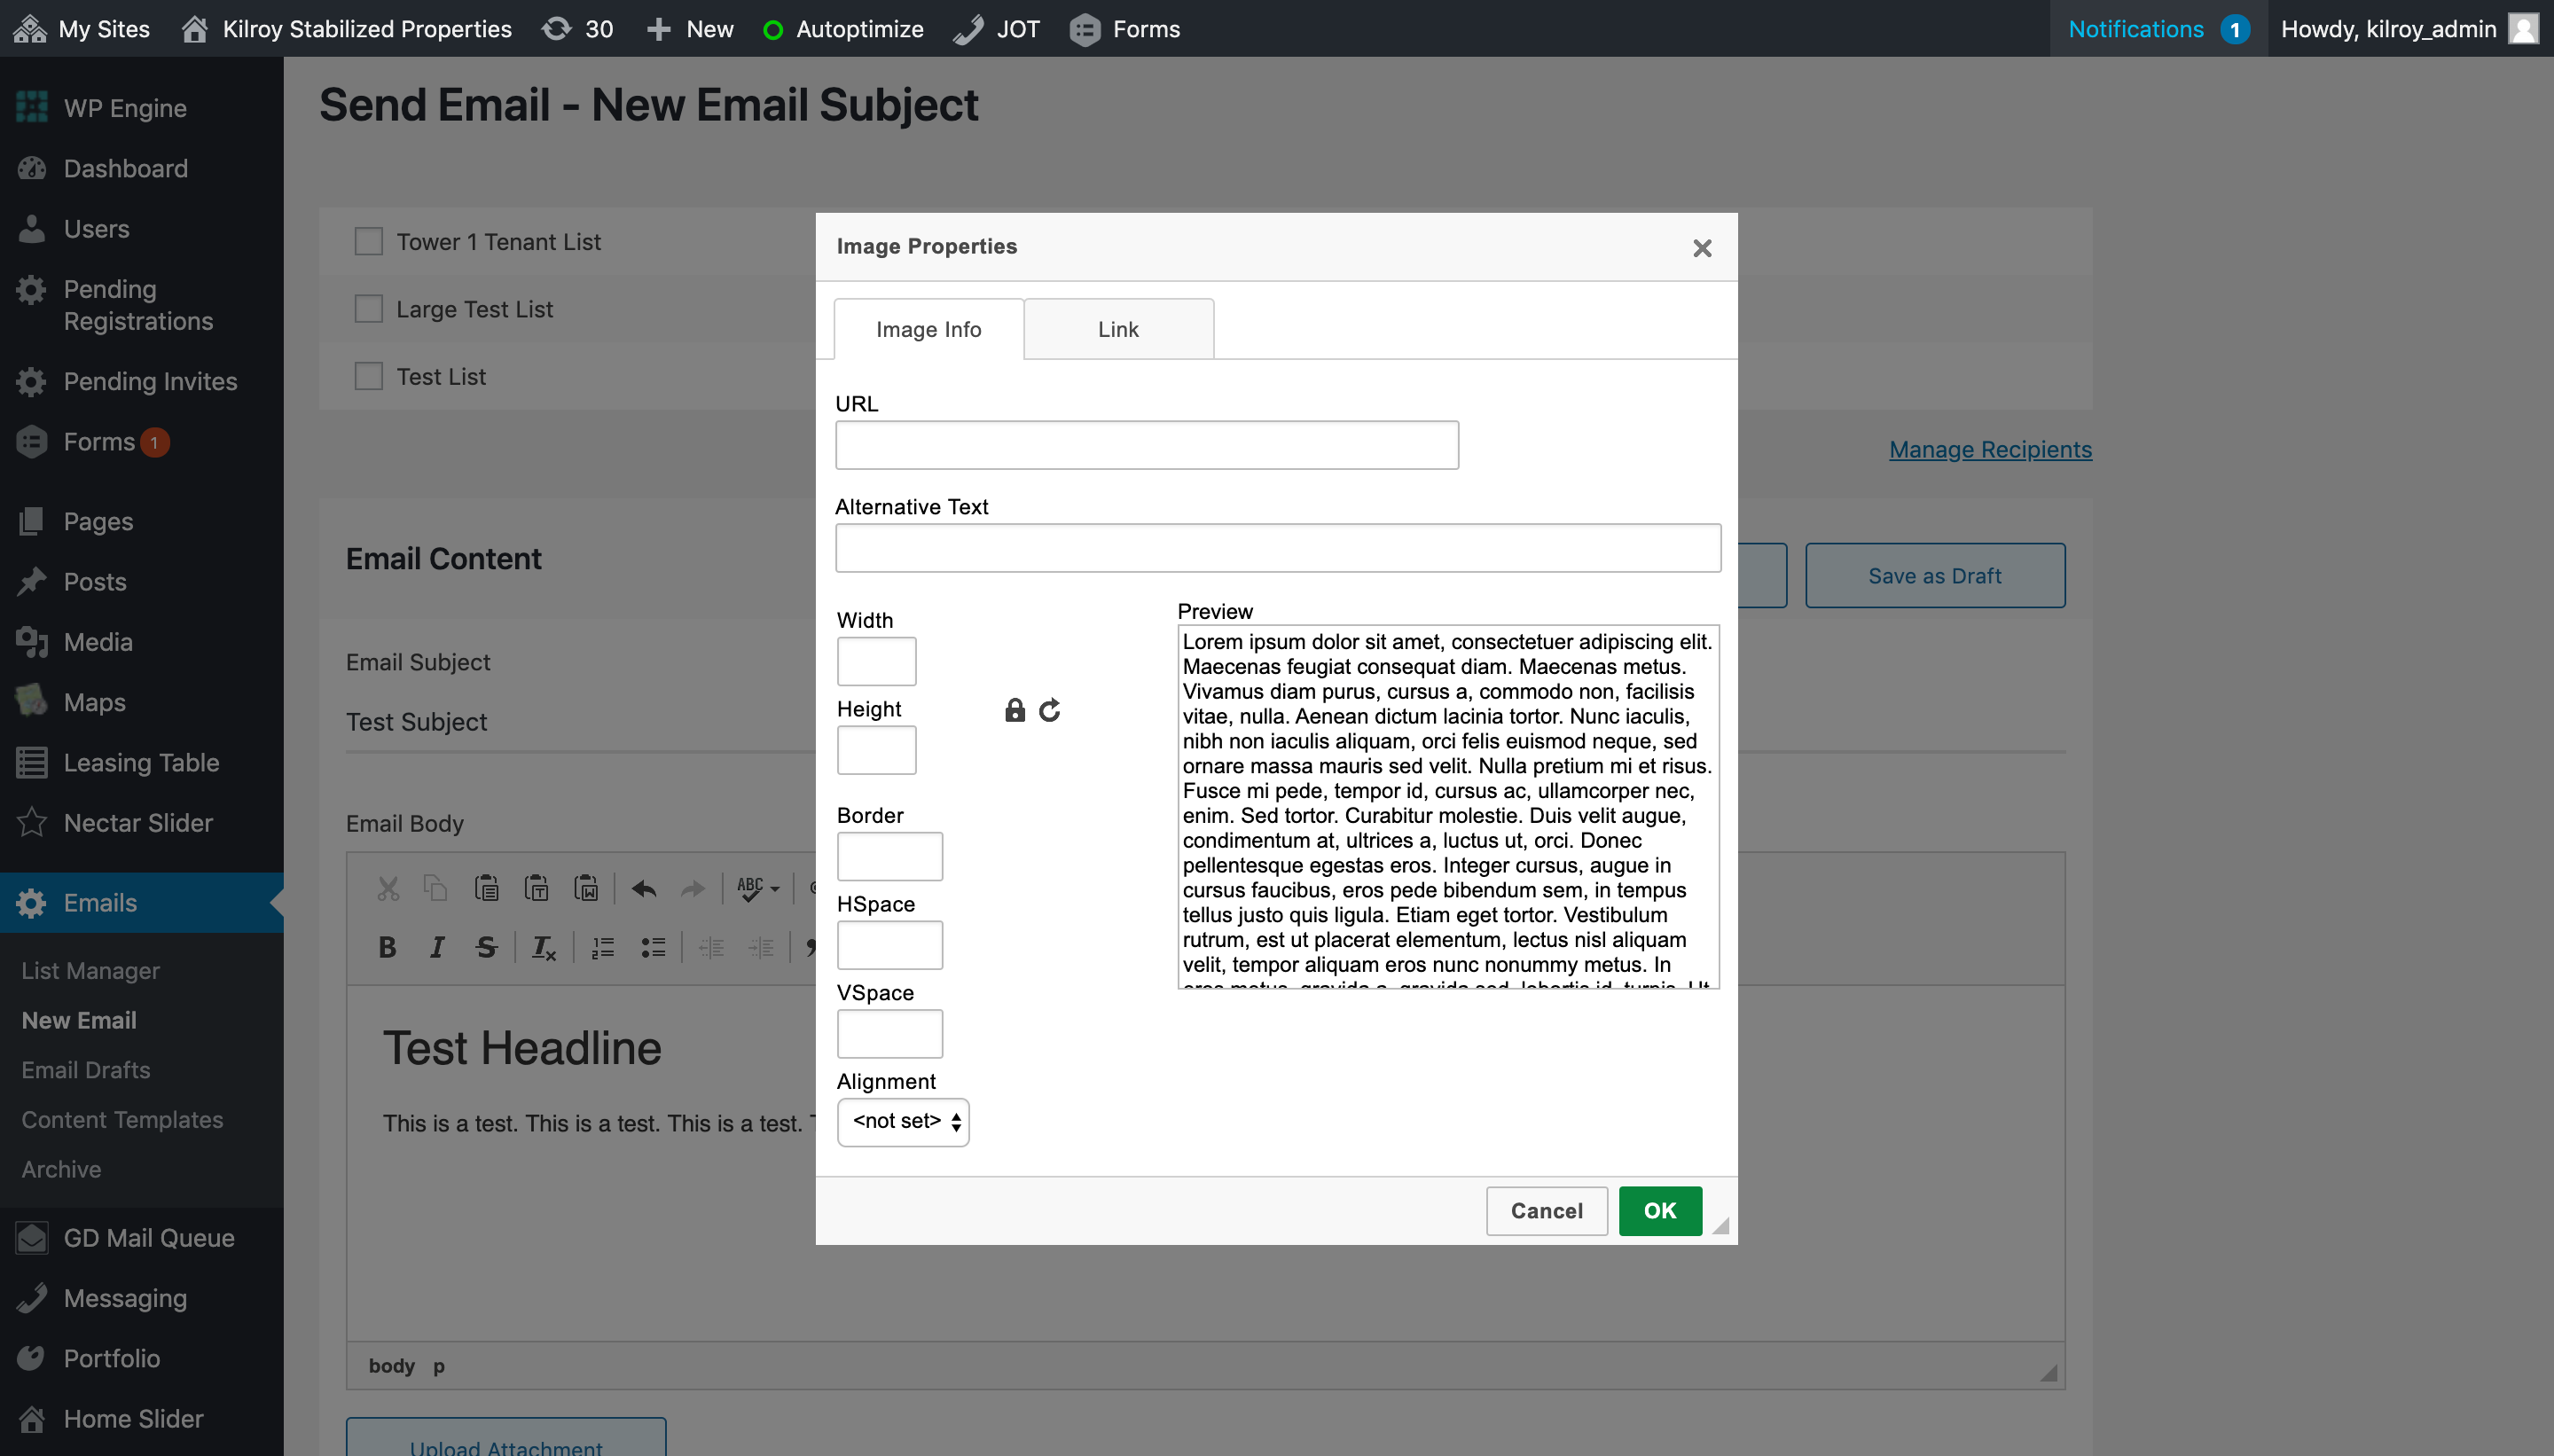
If you’d like to add images to a standard email, click the image icon in the text editor. This will open a modal window where you can upload an image.
When uploading, please ensure all images are <100kb file size and are no more than 528 pixels wide.
Should images exceed a pixel width of 528, please resize accordingly, as larger images will break the template in the Outlook email client.
Content Templates
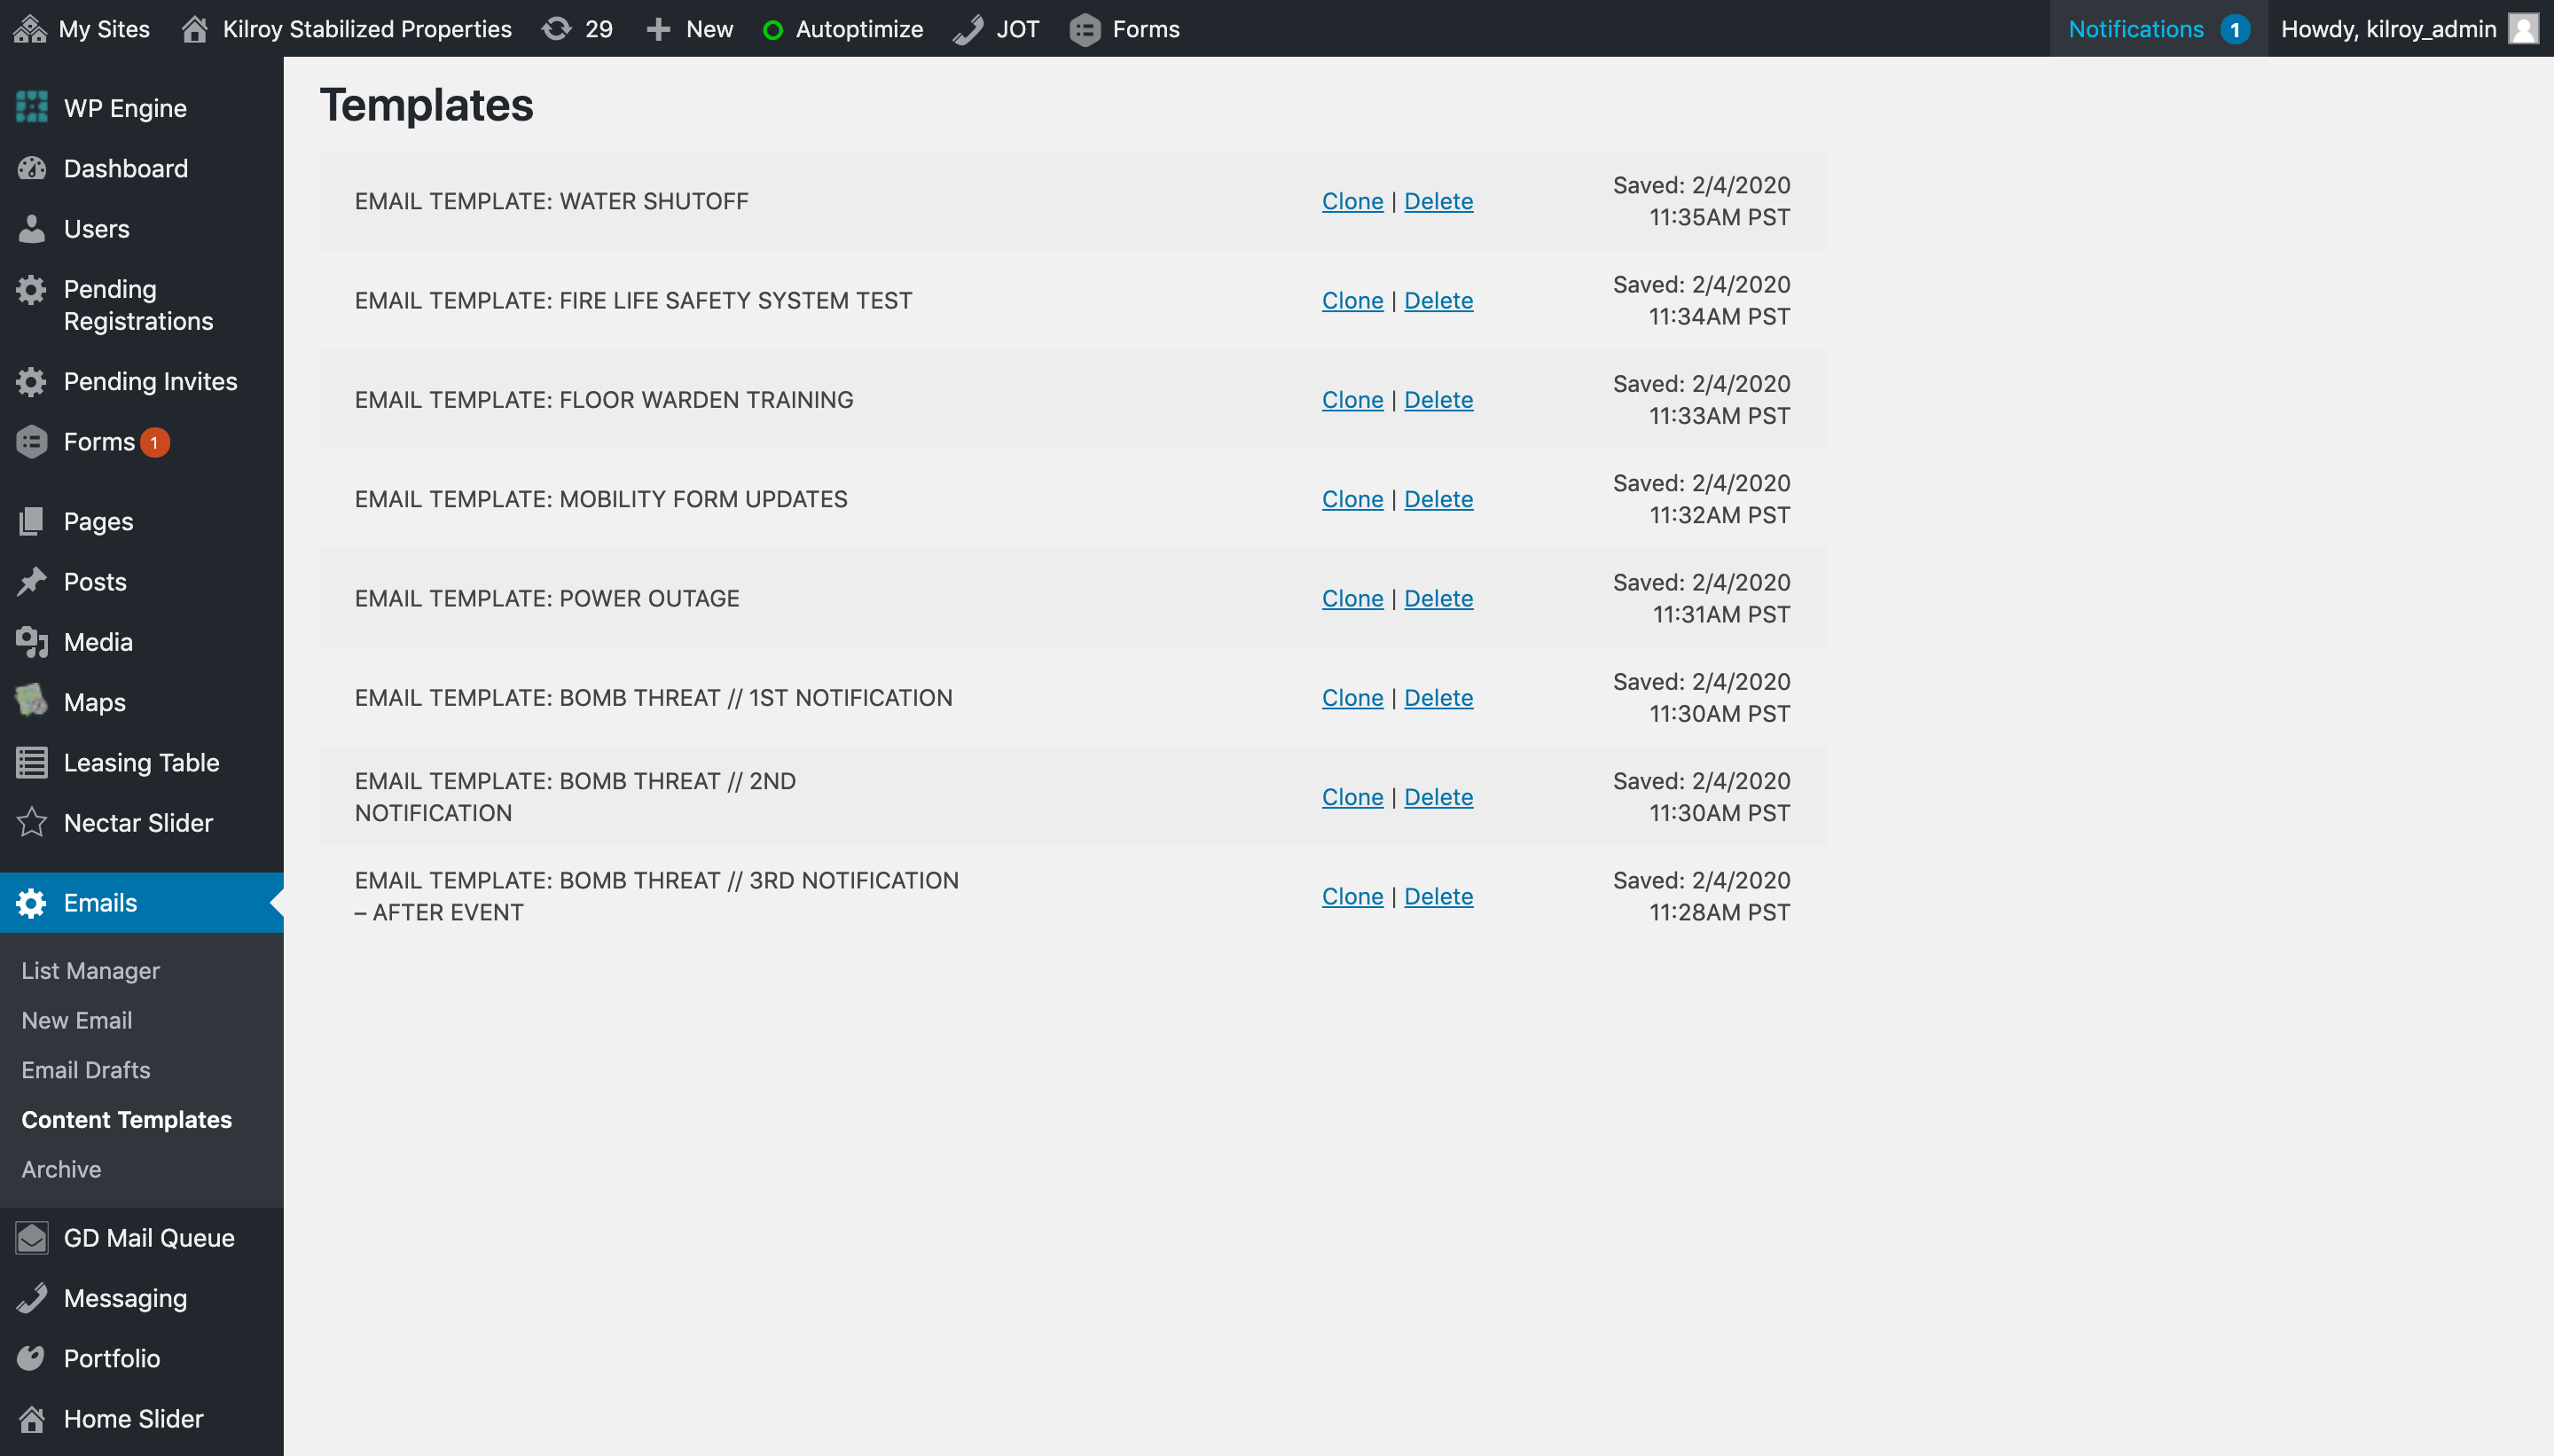
To save your email as a template for future use, click Save as Template. You’ll be able to access this template in the future through either the new email template dropdown menu, or from the Content Templates tab in the sidebar
Email Drafts
Click Save as Draft to save into the drafts folder for sending at a future time. You will see a Draft saved notification message.
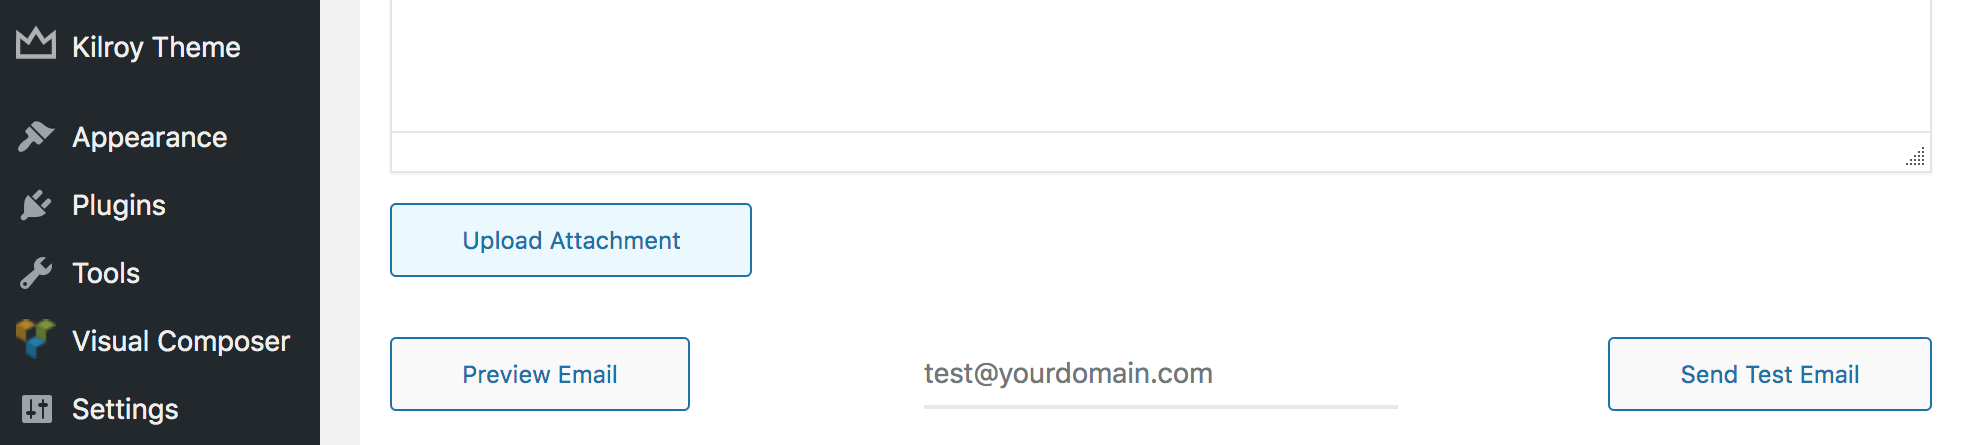
Adding Attachments
To add attachments, just click Upload Attachment to the lower left of the text editor. From here, you can select PDF or JPG files under 2mb in size from the Media Library or your desktop.
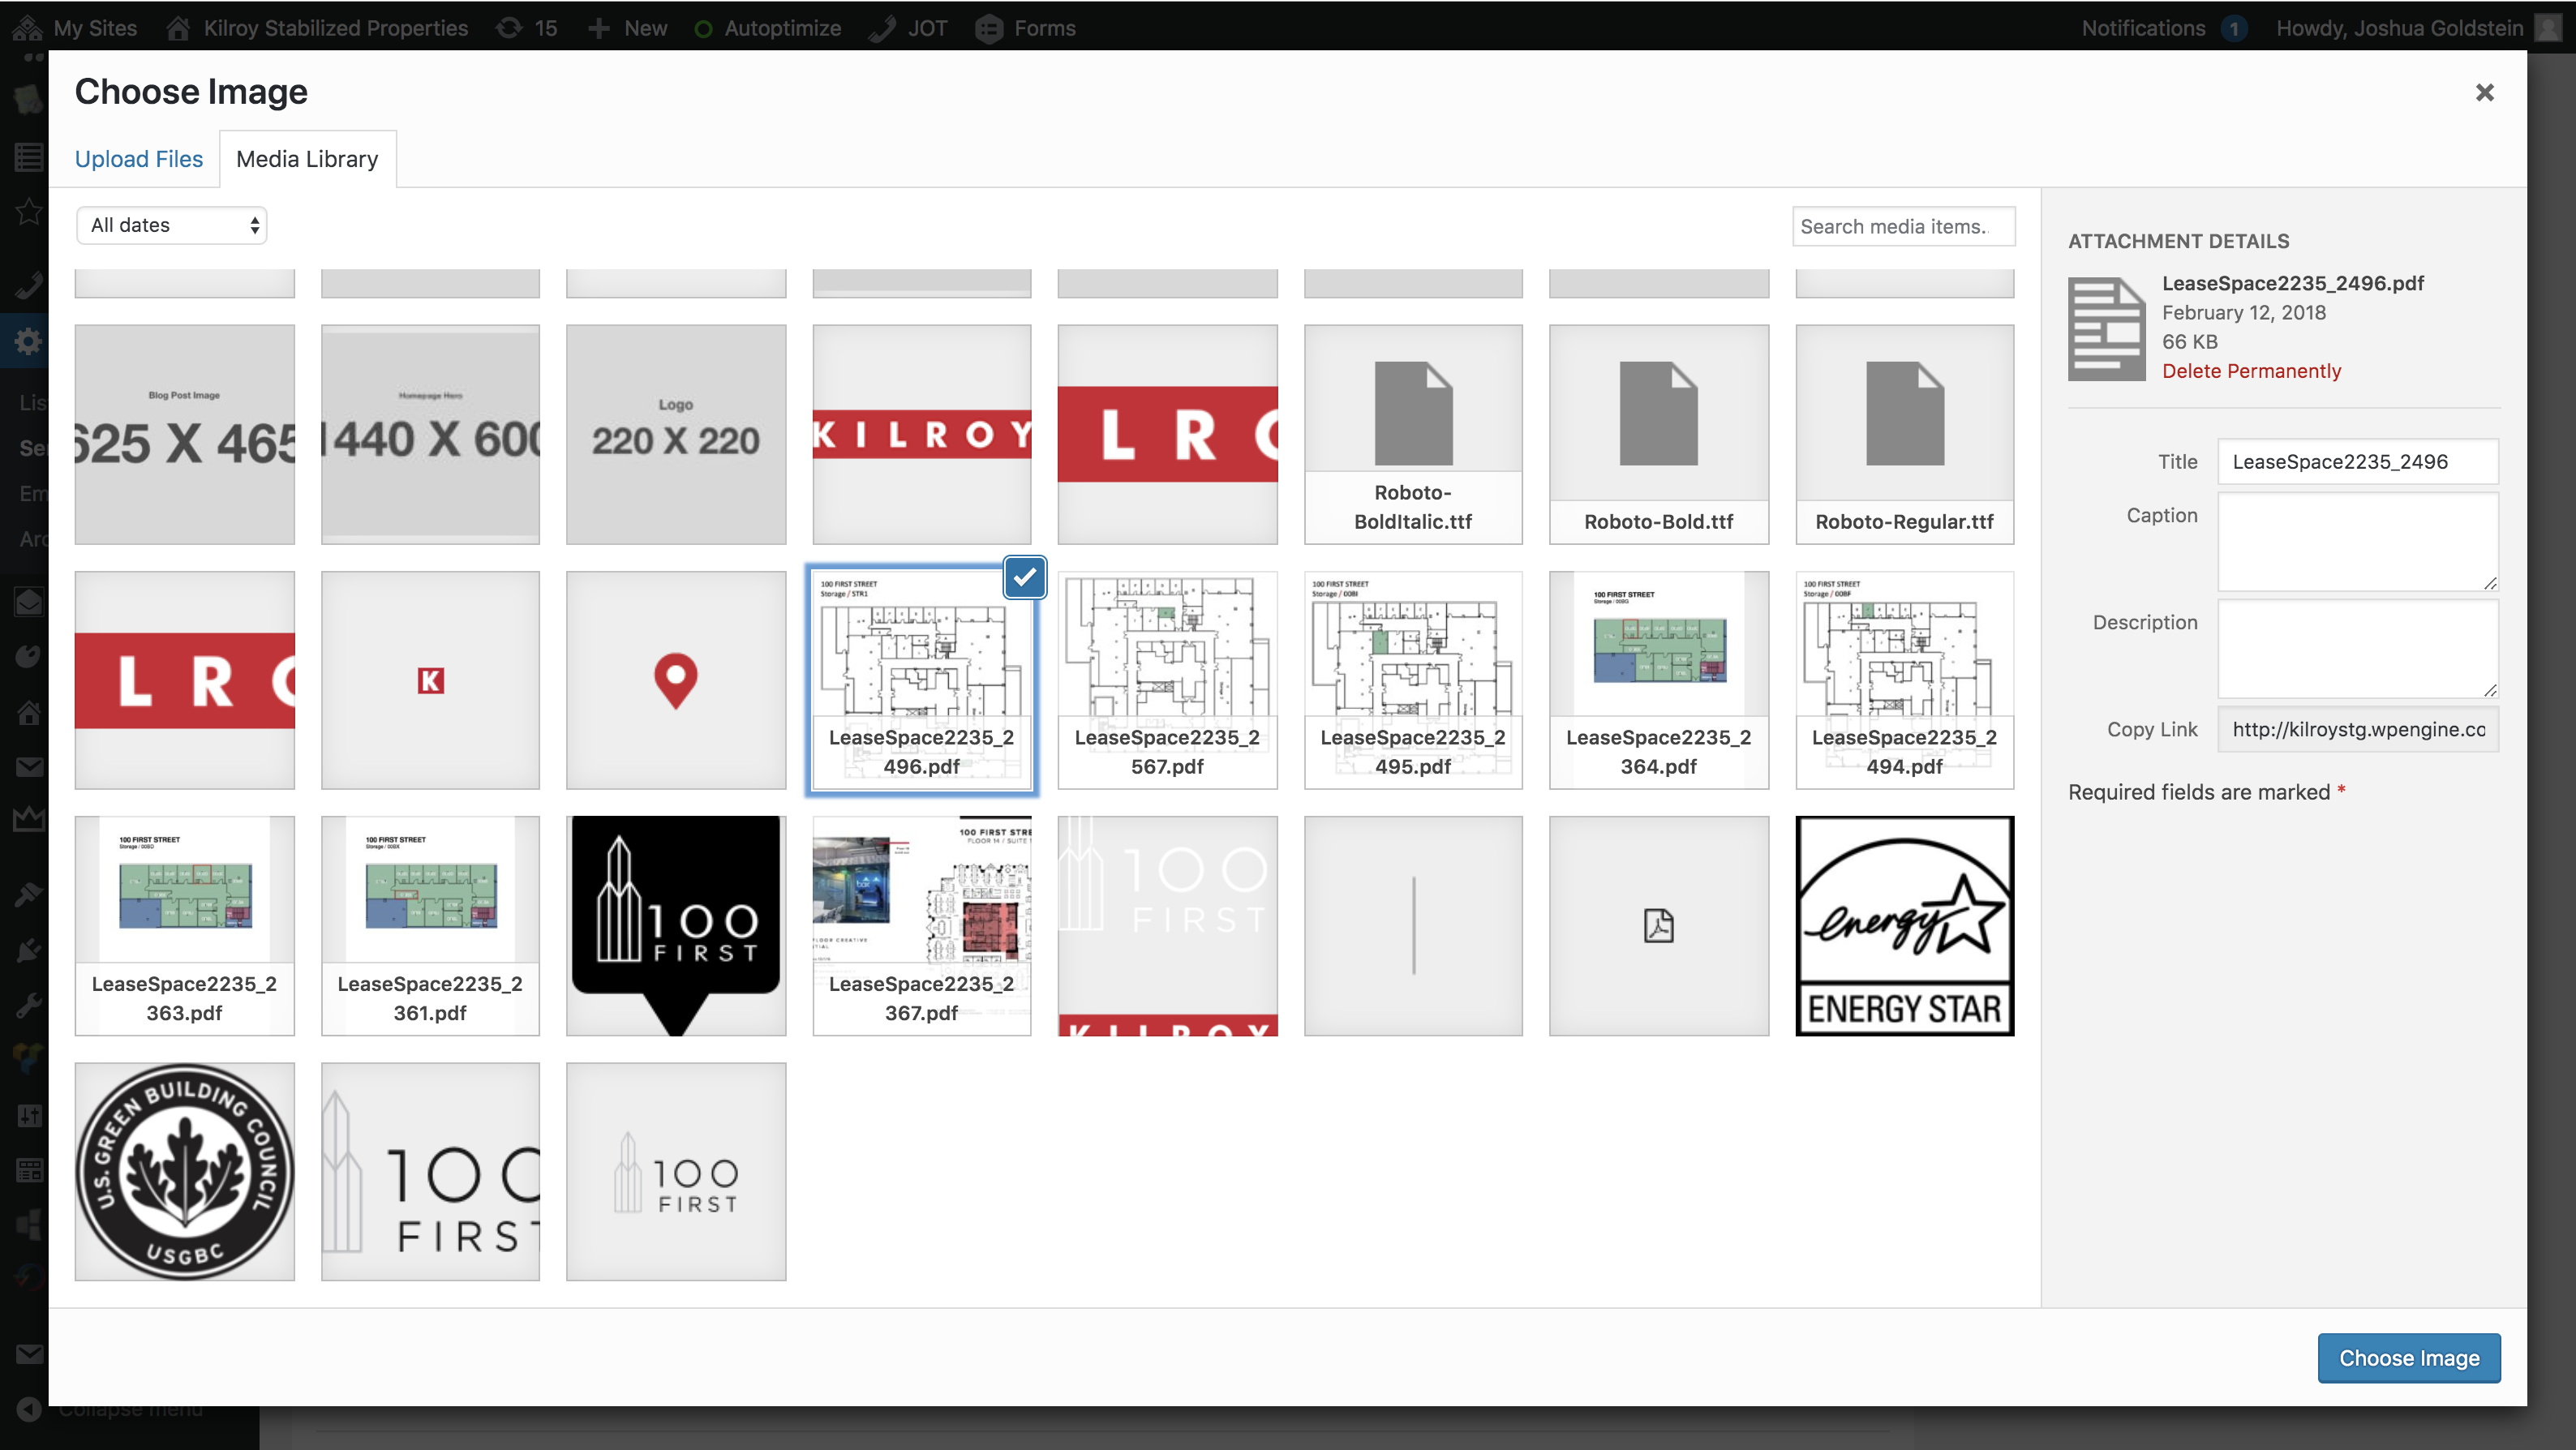
Once you have successfully uploaded an attachment, the site Media Library will open. If you wish to remove the PDF from the media library, click Delete Permanently. You may also search media items or add a description of the attachment on this screen. When ready, select your attachment with the blue check box, scroll down to the bottom and click the Choose Image button to upload to the email.
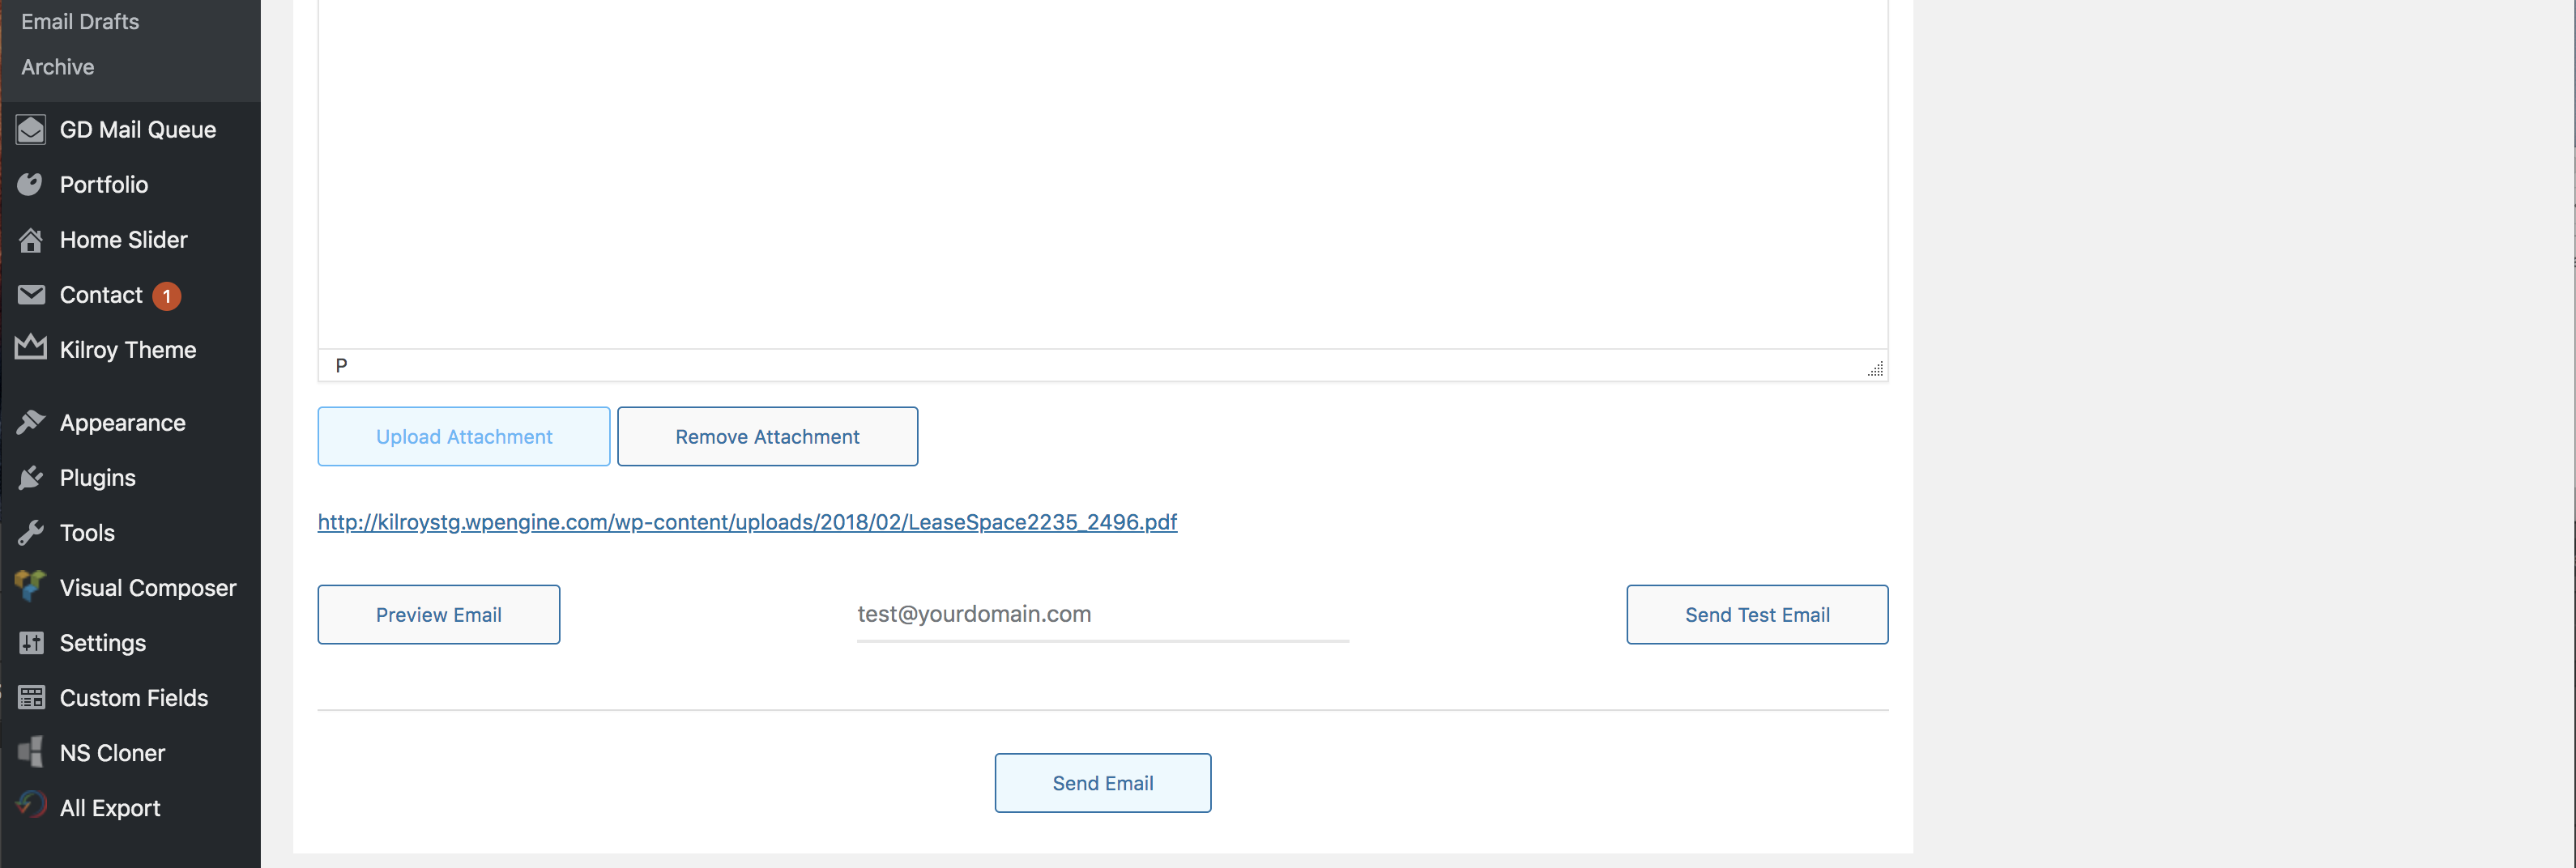
You will now see the title of the attachment below the body copy content field. If you wish to delete the attachment from the email click Remove Attachment.
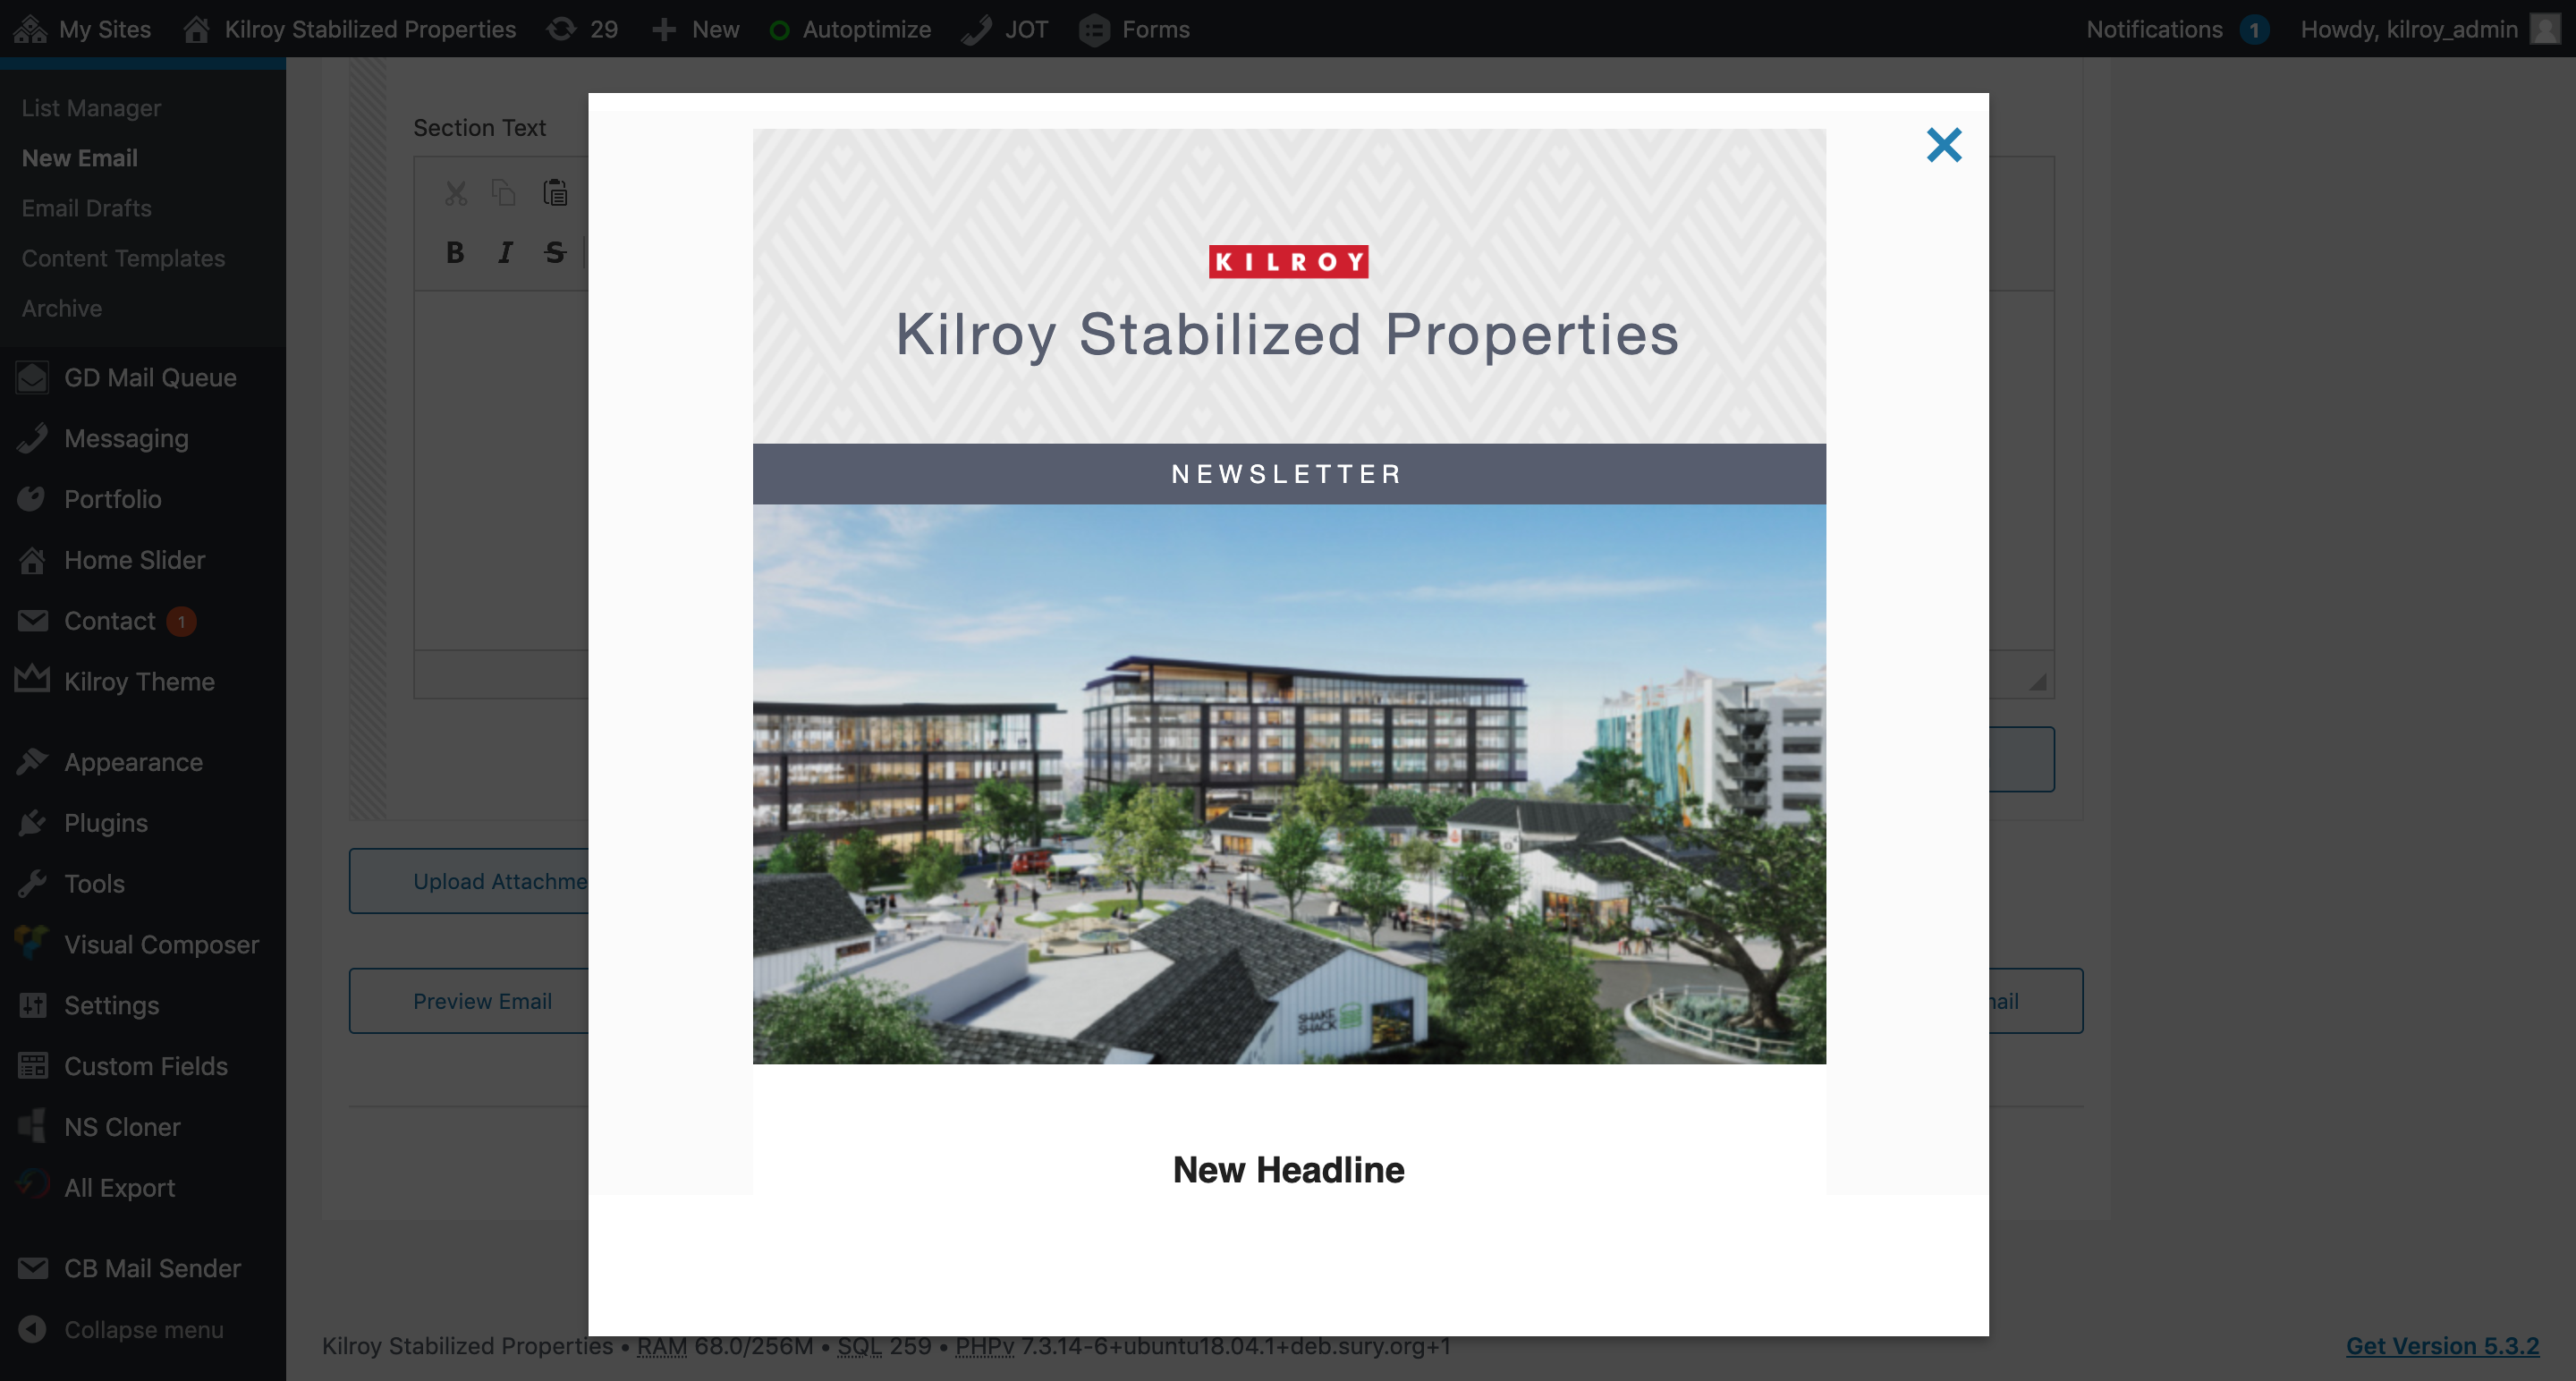
Before You Send
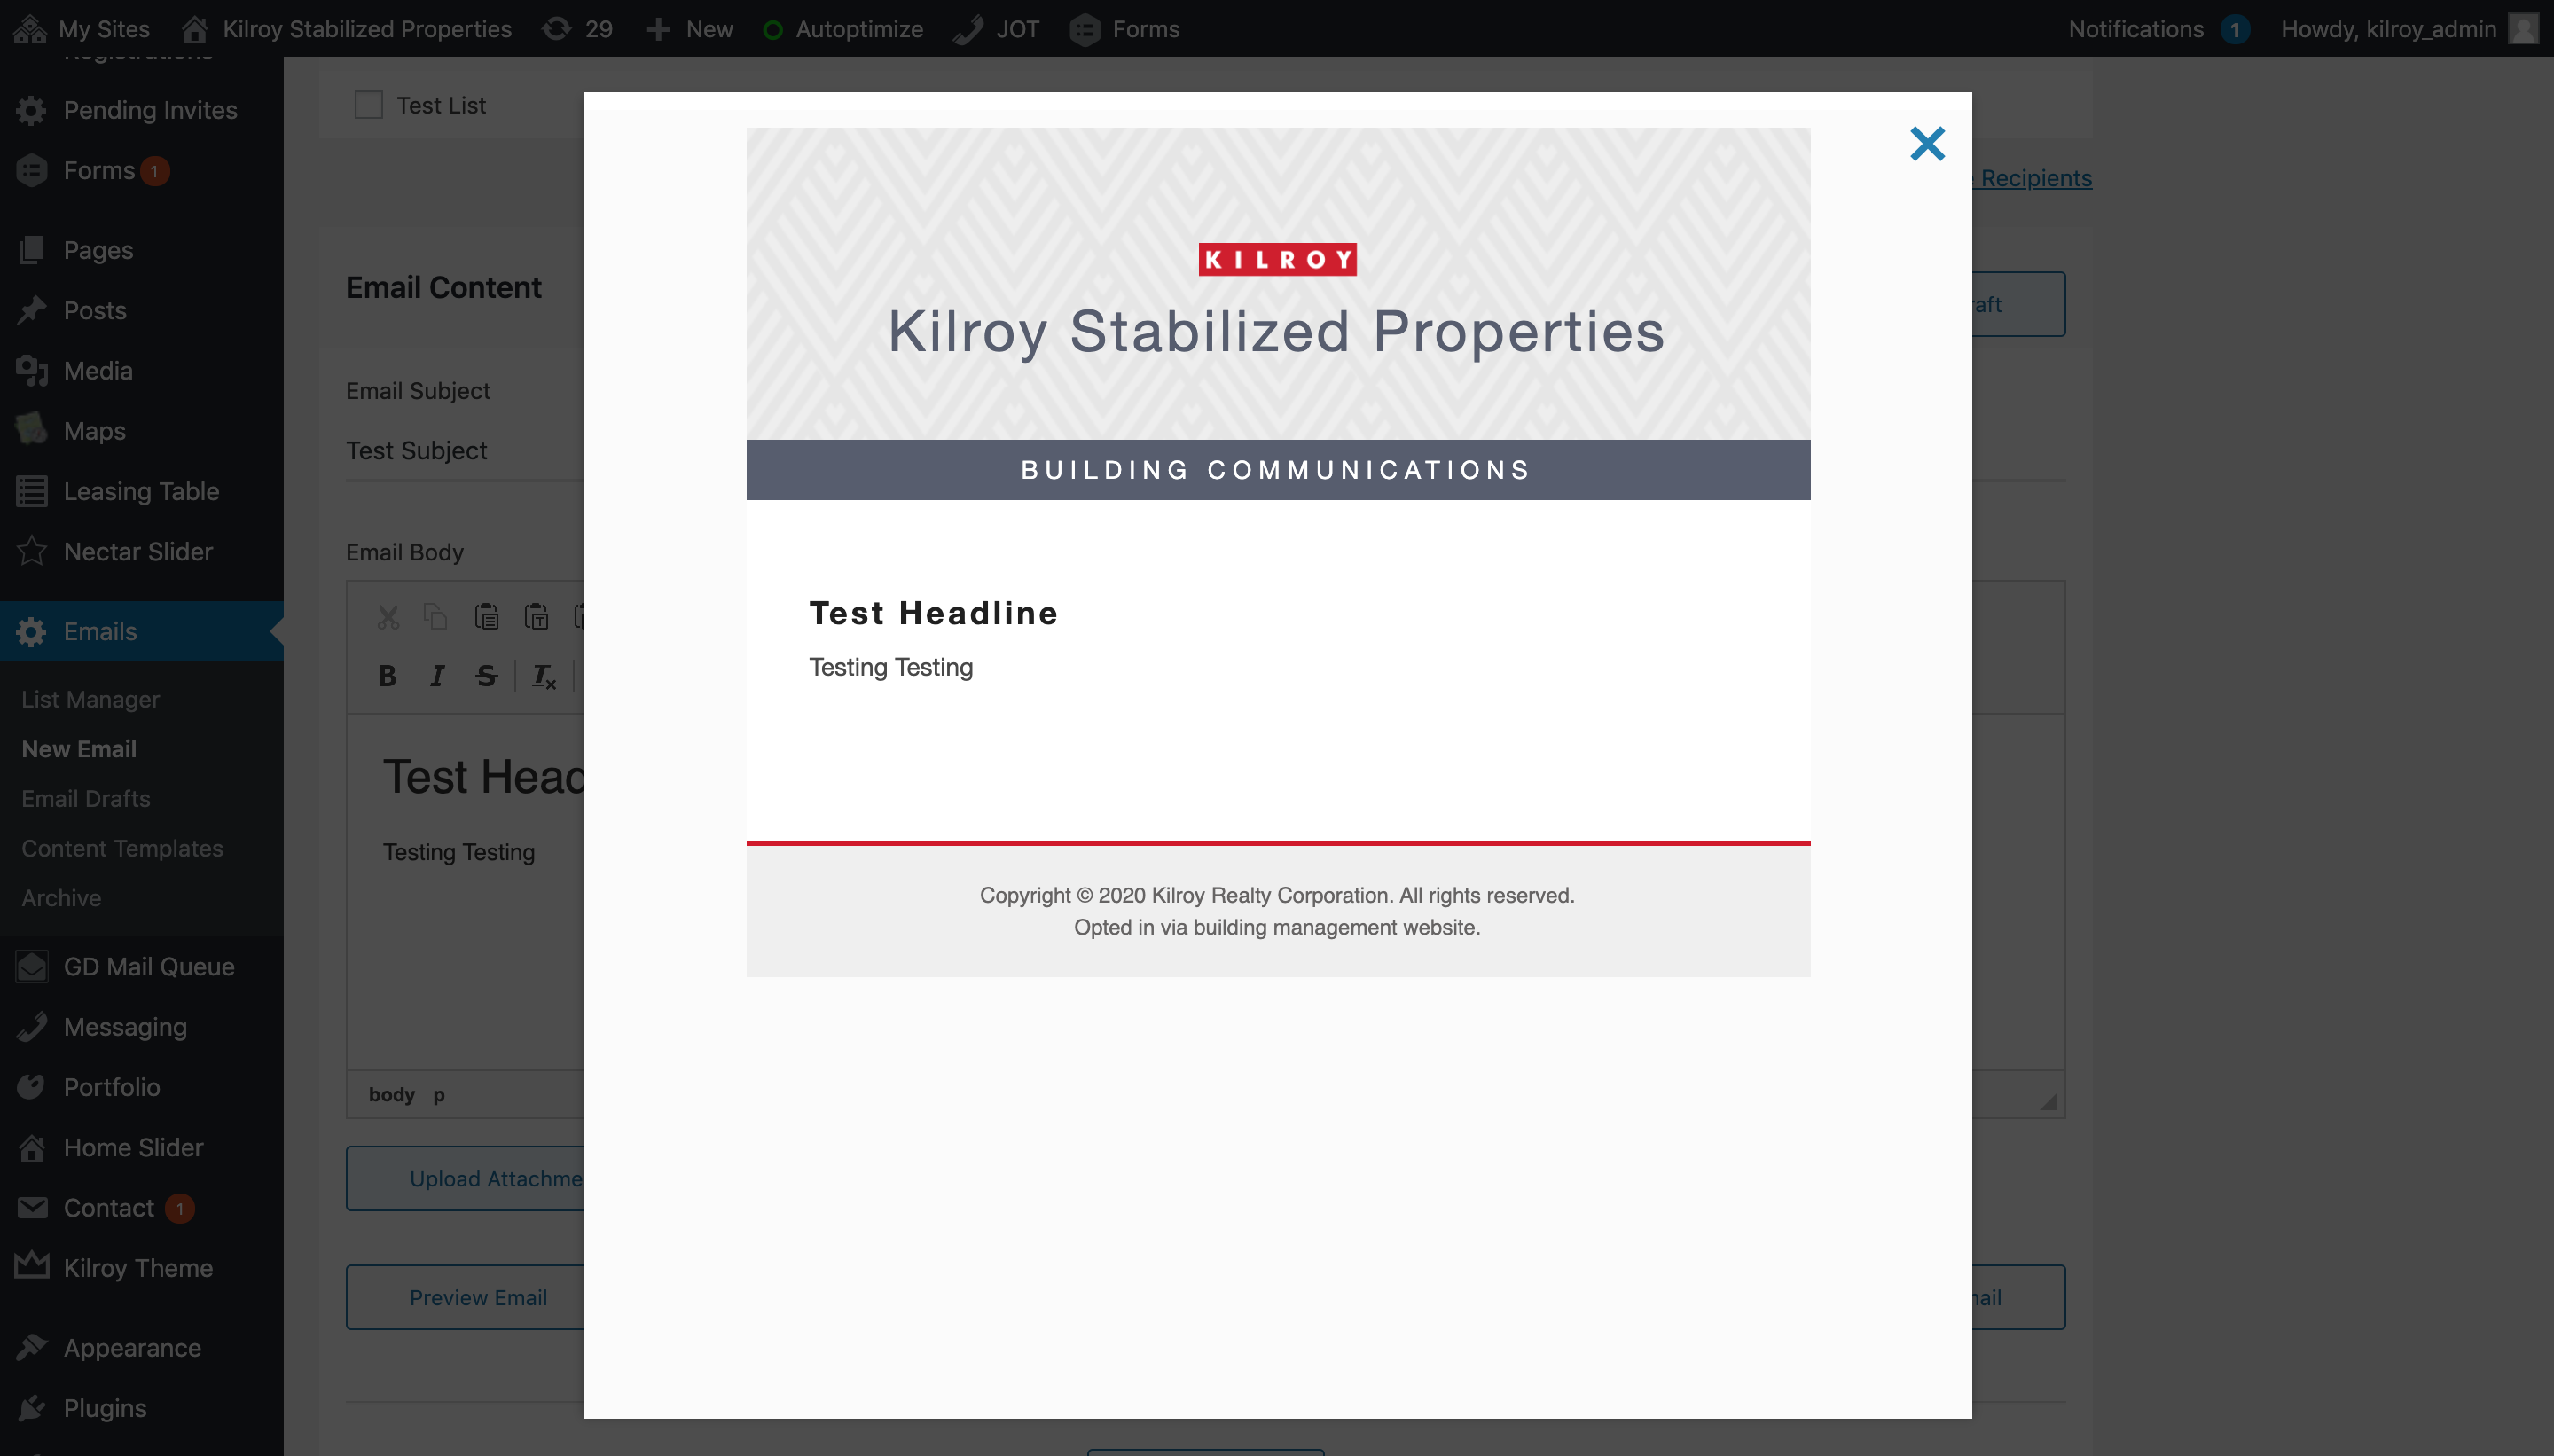
Preview how your sent email will display by clicking Preview Email. This will open a modal window displaying your formatted email. Close this window by clicking the X in the upper right corner.
Send yourself a test email to confirm everything looks as it should by typing in your email and clicking Send Test Email. When successfully sent, you will receive a Test email sent to notification message.
Sending Your Email
To send the email, click Send Email. When successfully sent, you will receive an Email sent notification message.
Newsletters
To draft a Newsletter, select Newsletter from the template dropdown. This will open a newsletter editor with more detailed formatting options.
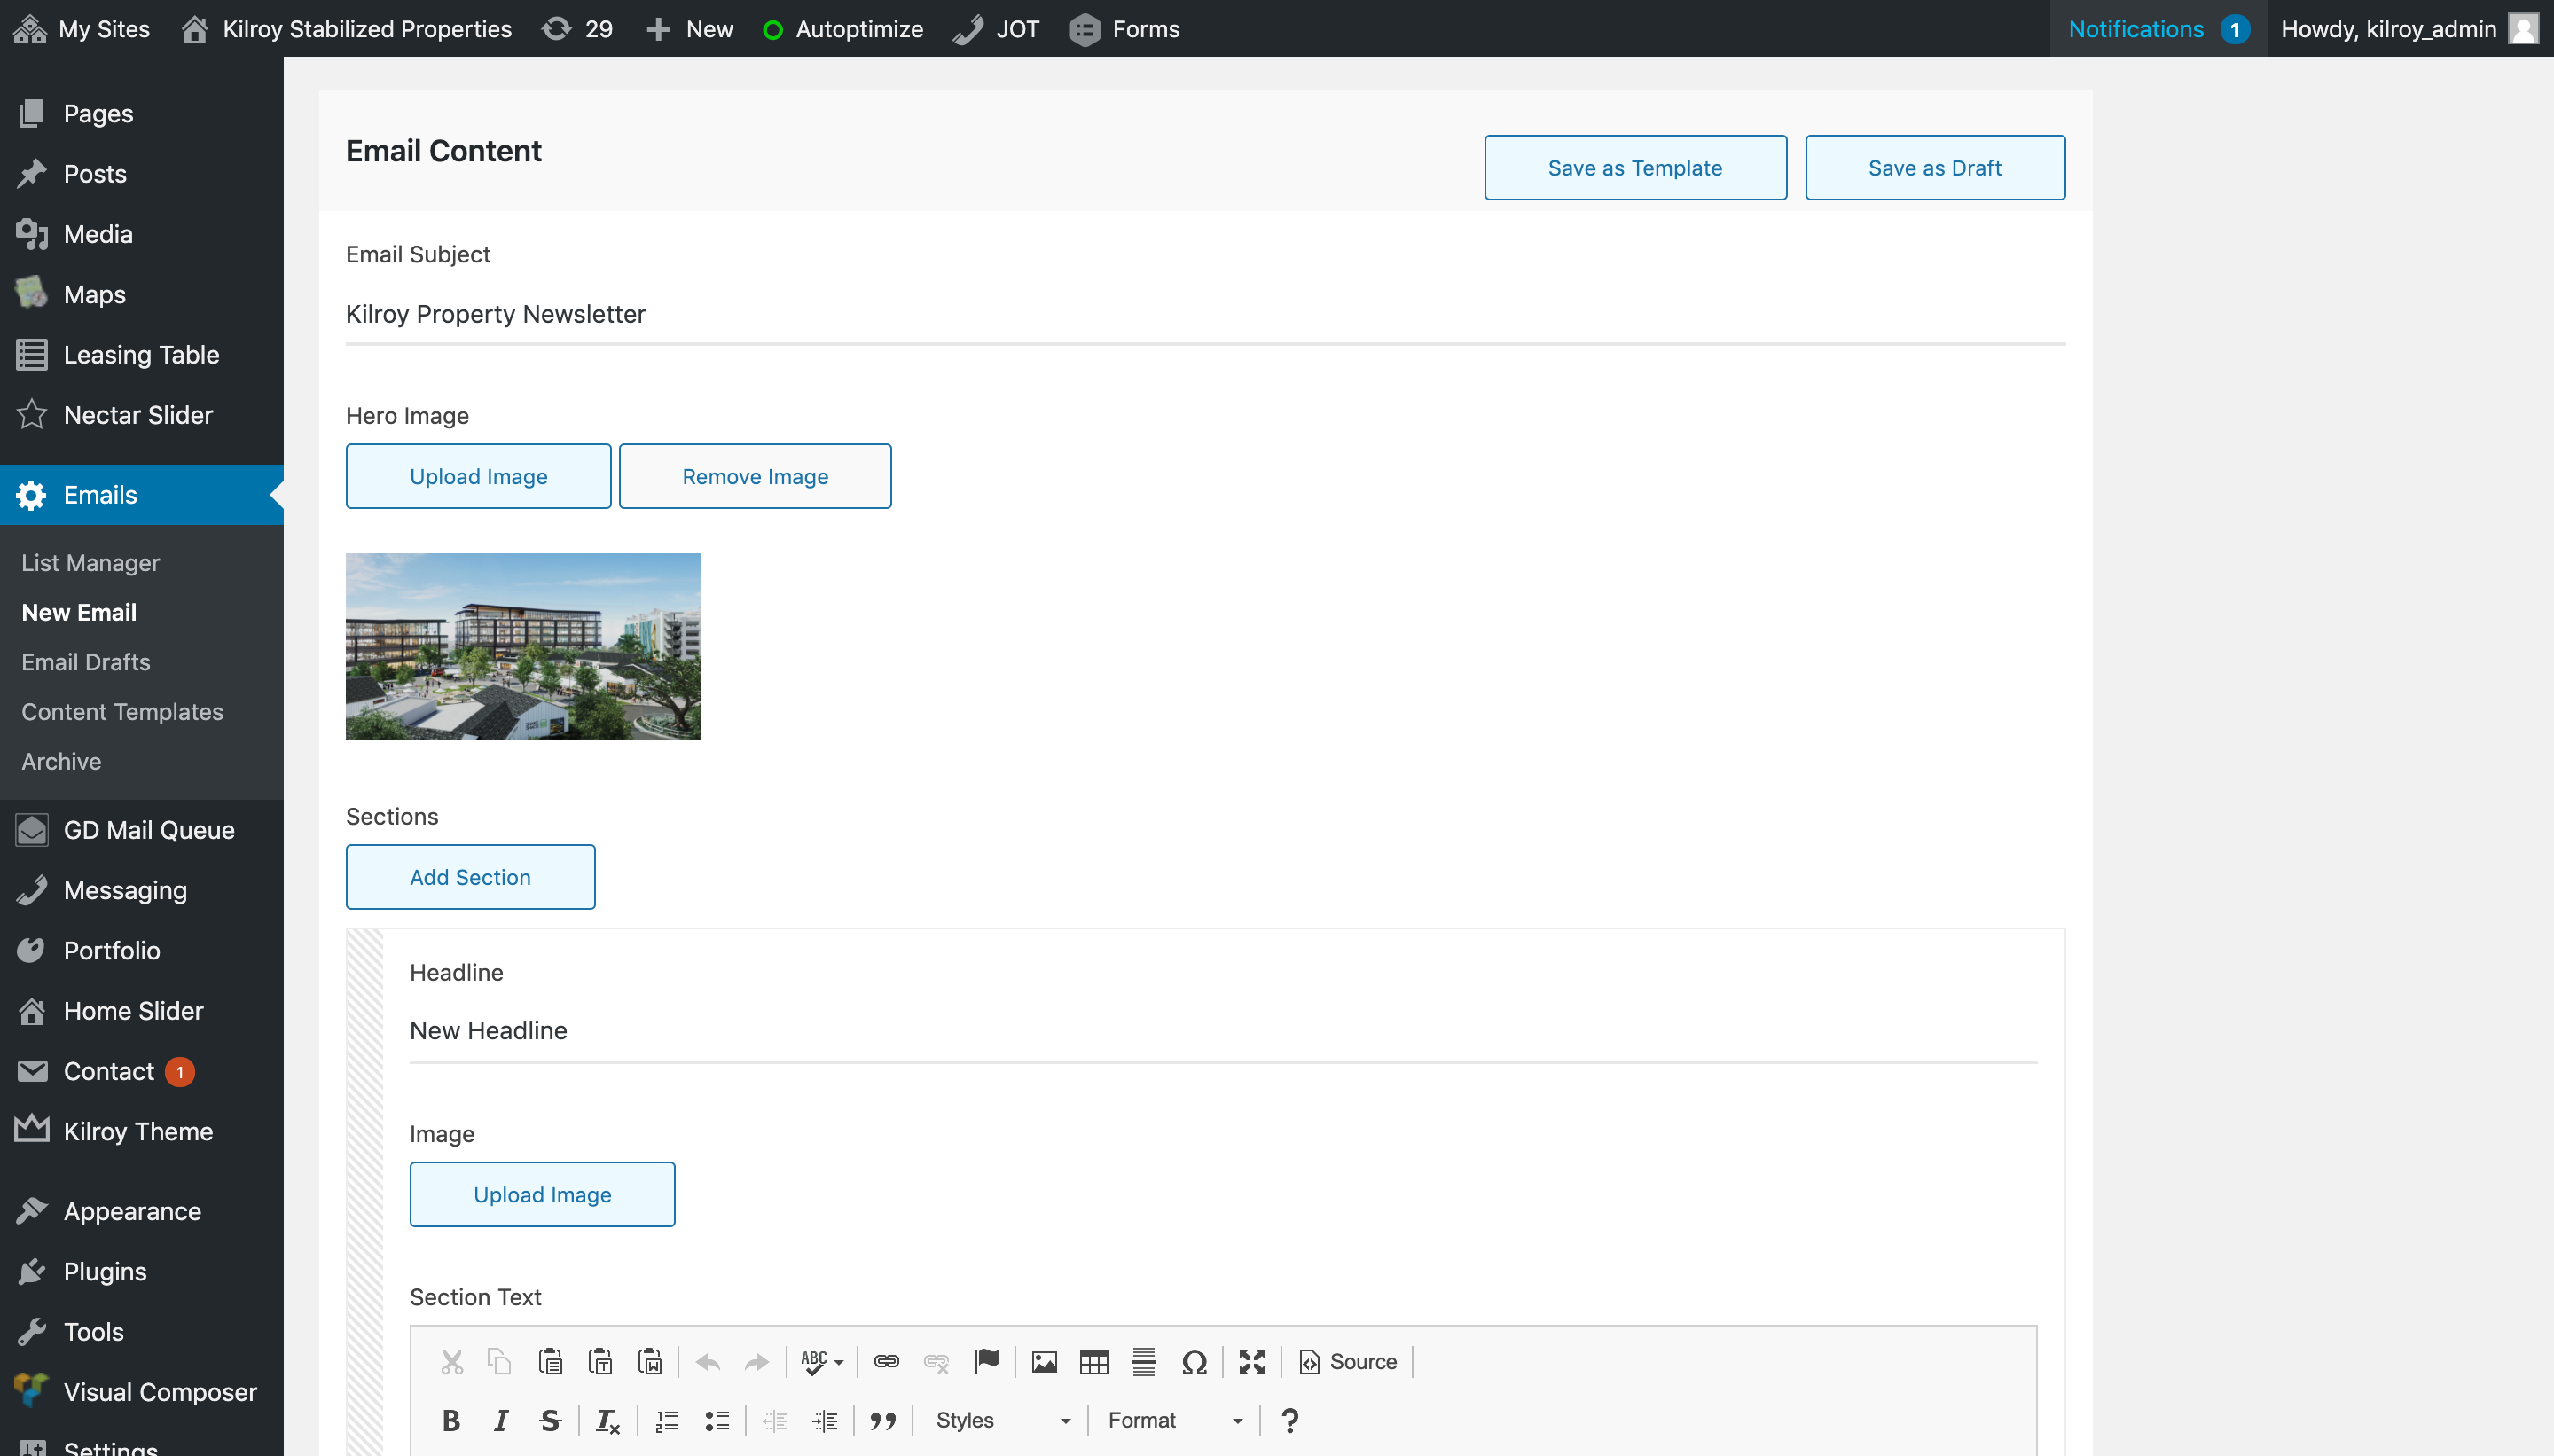
Select your email list and manage recipients as you would a standard email.
Upload your Hero image by clicking Upload Image. Then, click Add a Section to add a preformatted section where you will be able to input a headline, body copy, and accompanying image as you would a standard email.
Clicking Add a Section will add a blank section for you to populate underneath your previous section.
Send your email as instructed in the Sending Your Email block above.
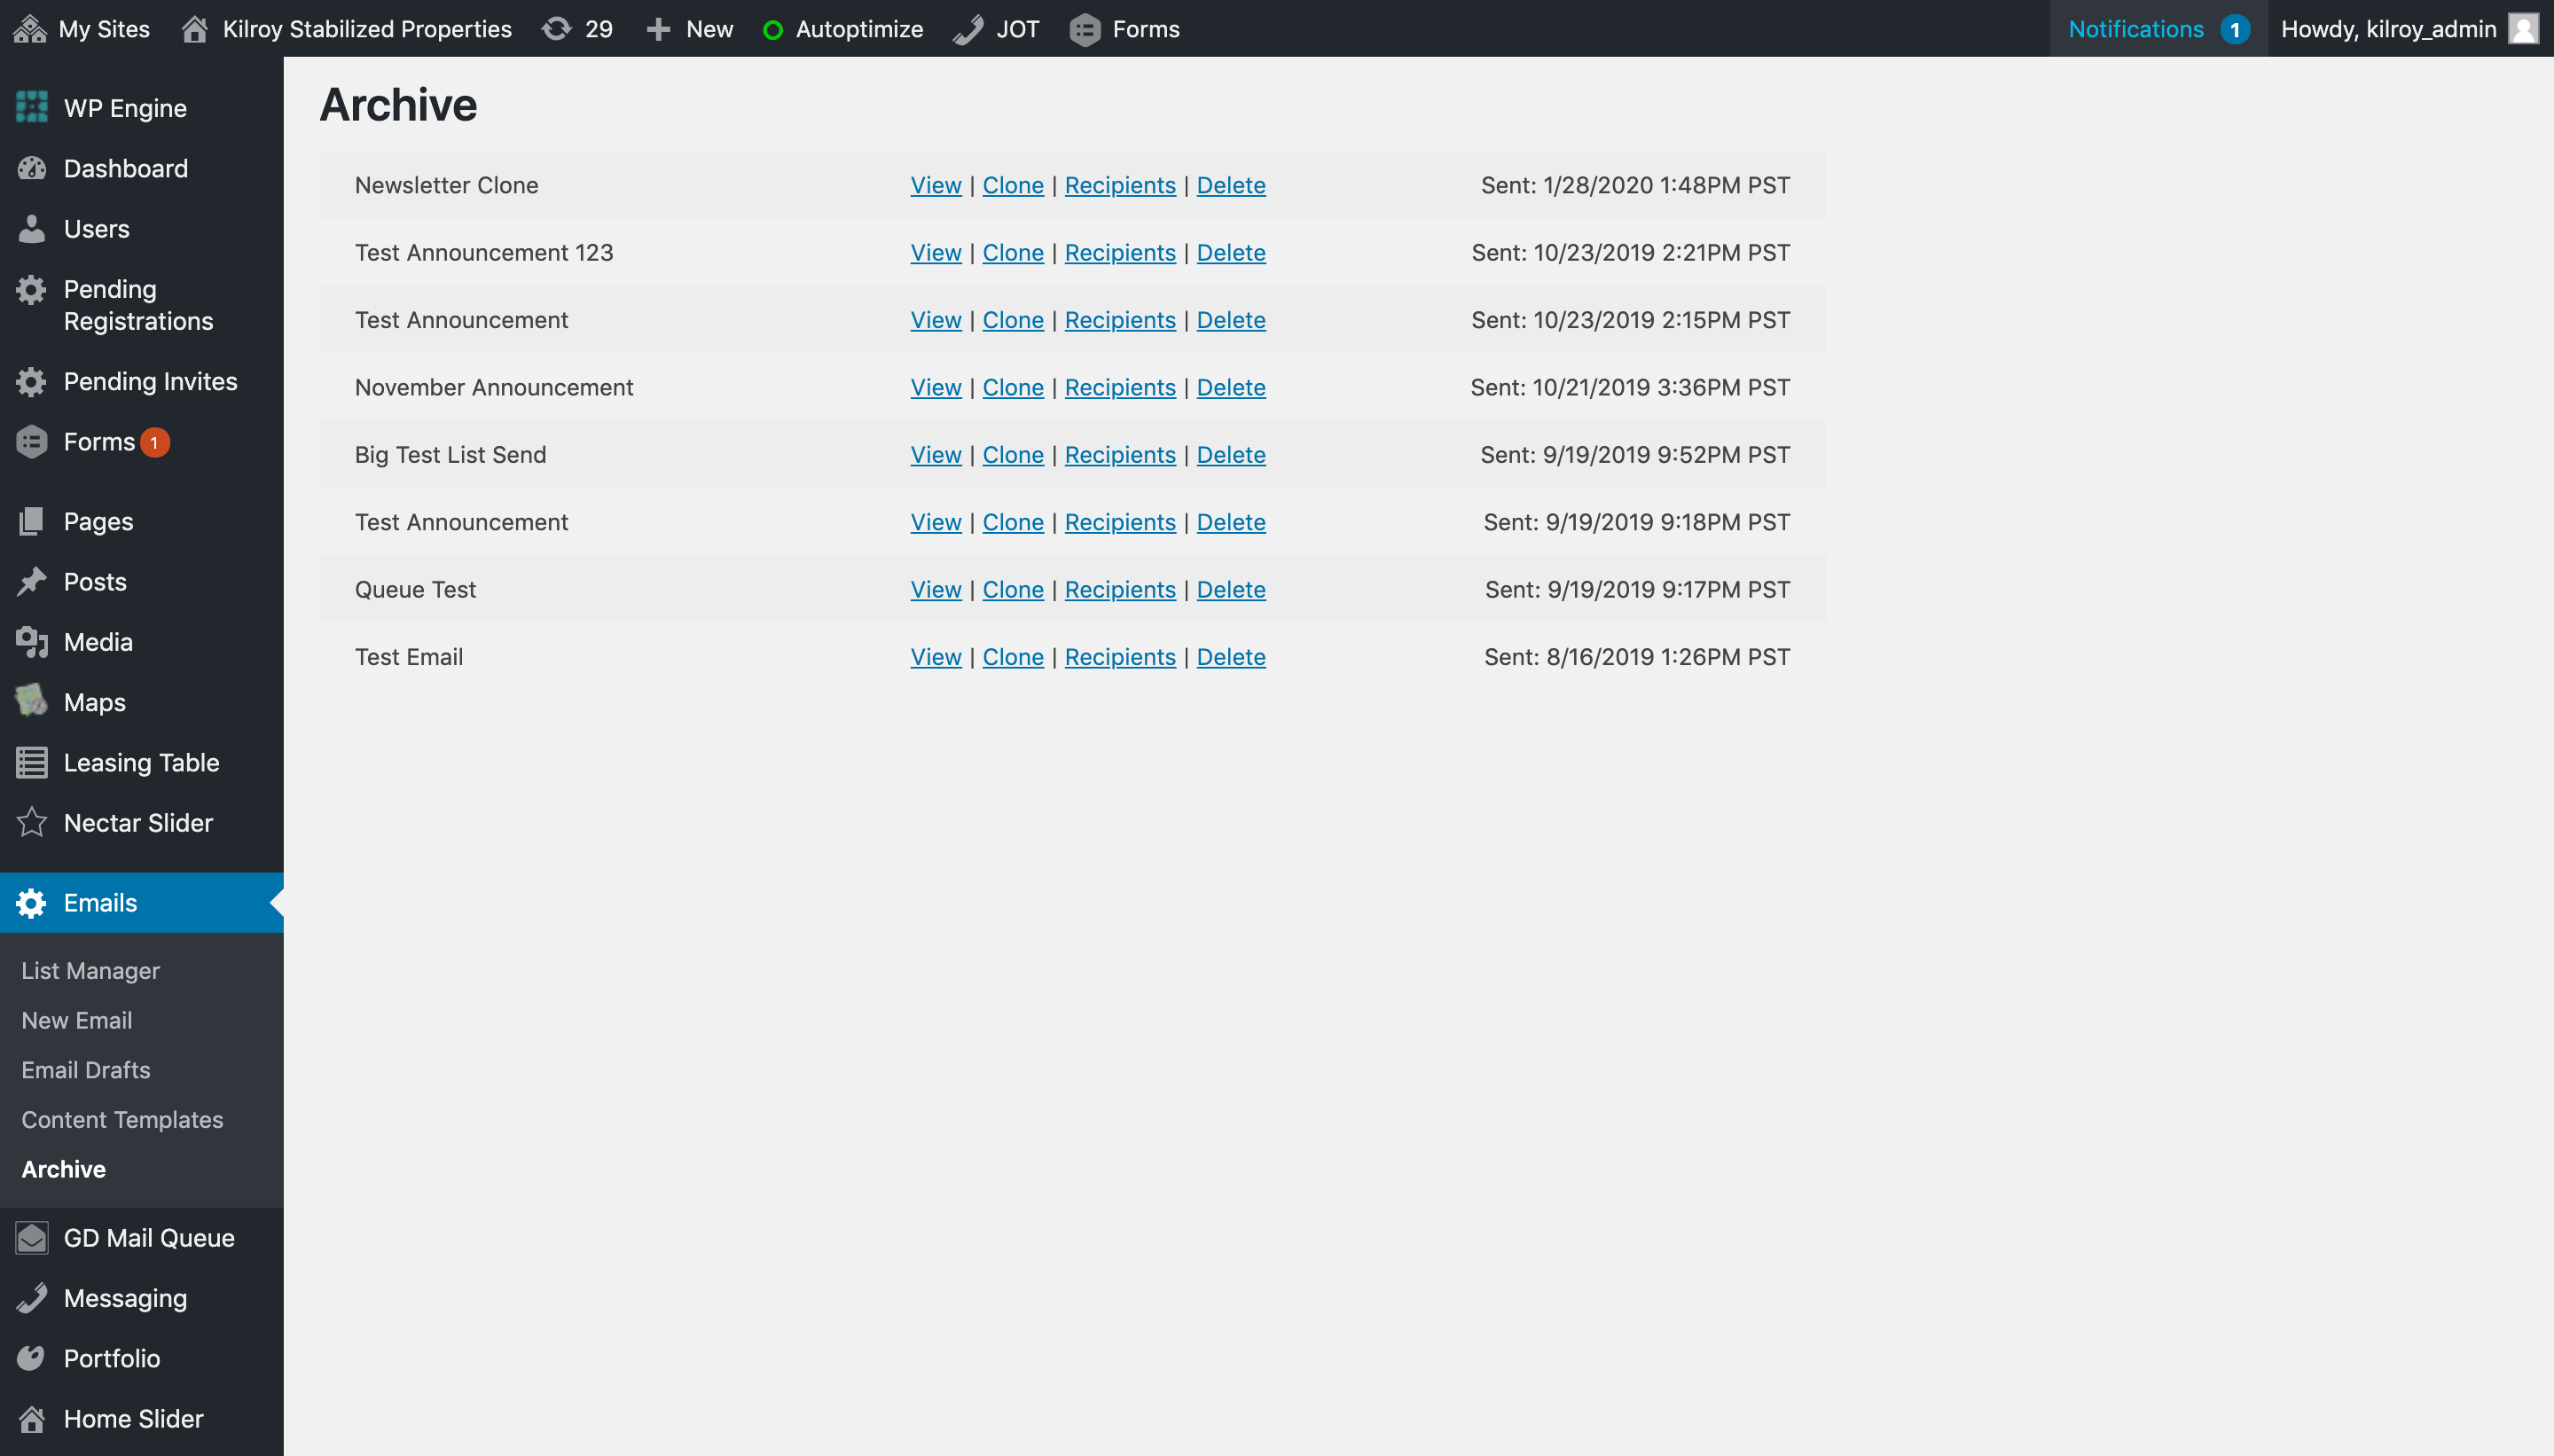
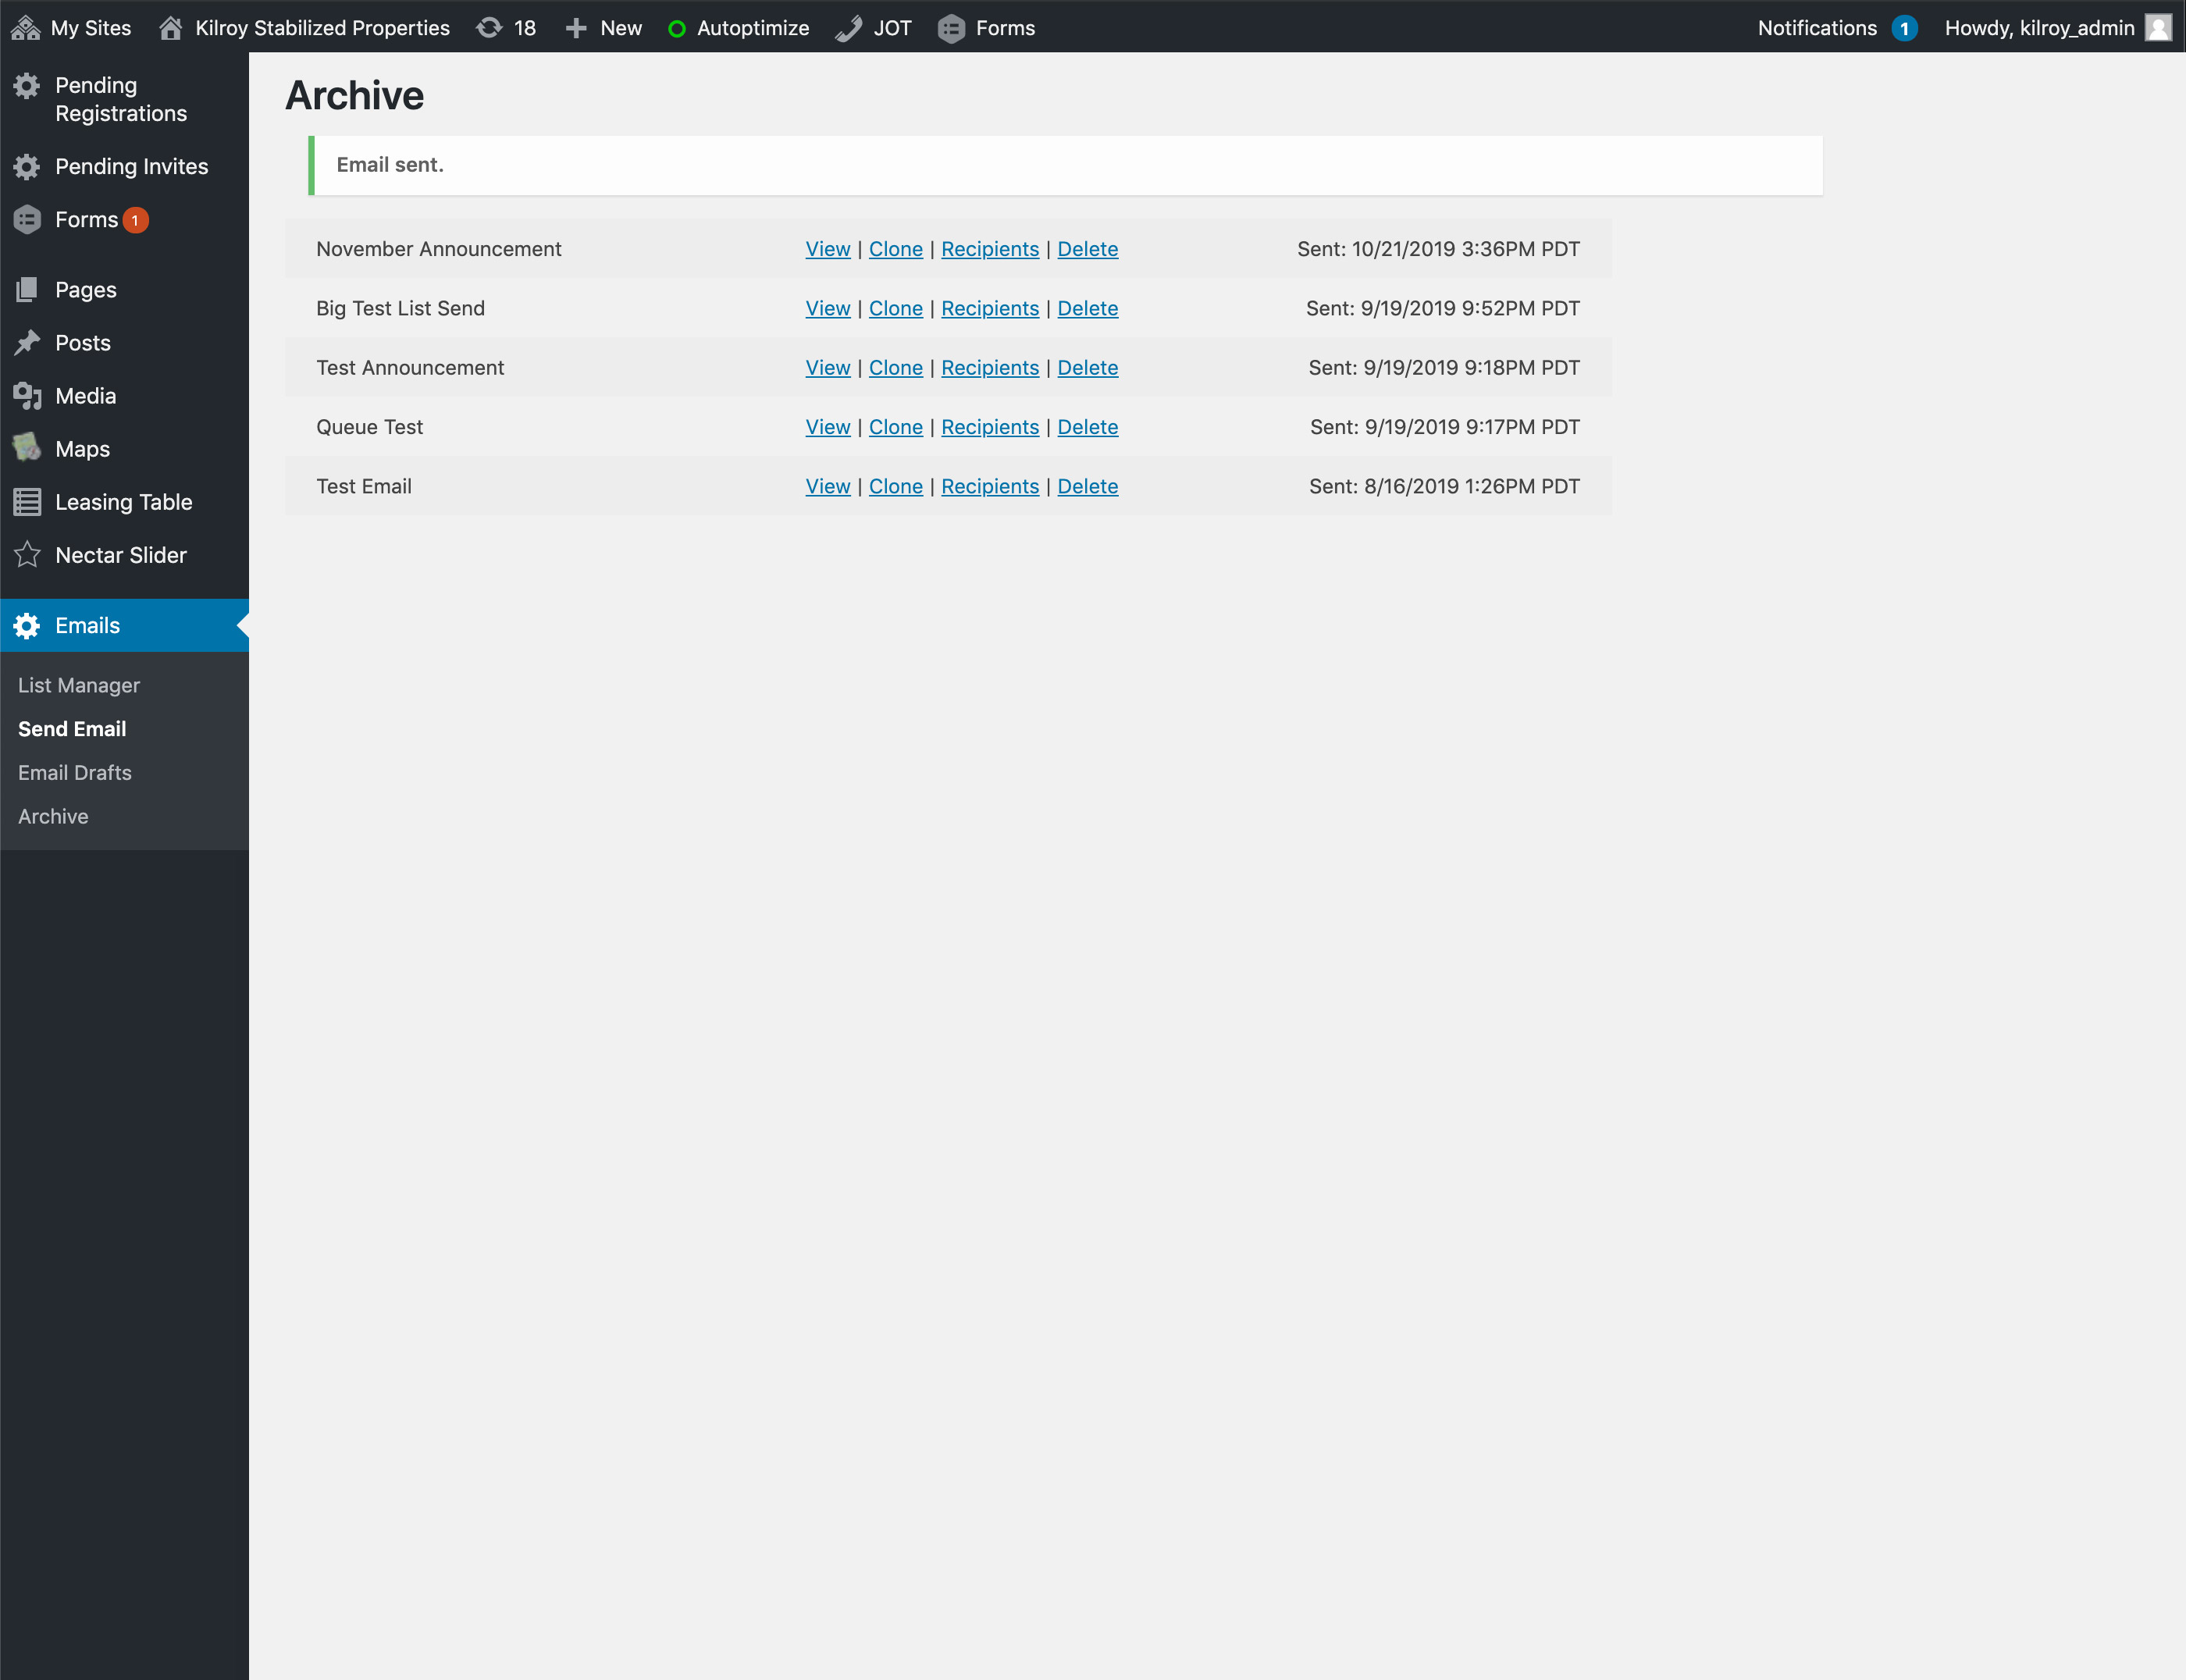
Archive
Here you may view emails sent, saved as drafts & individual list recipients. You may also copy an email by clicking the Clone link.